Remediation of findings from Saner CSPA dashboard involves systematically addressing the anomalies by identifying and resolving directly from the interface with ease.
You can initiate the patching task in one of the ways:
Option 1: By Accessing the Fix (Wrench) Icon from the “Posture Anomaly Details” Block on the Dashboard
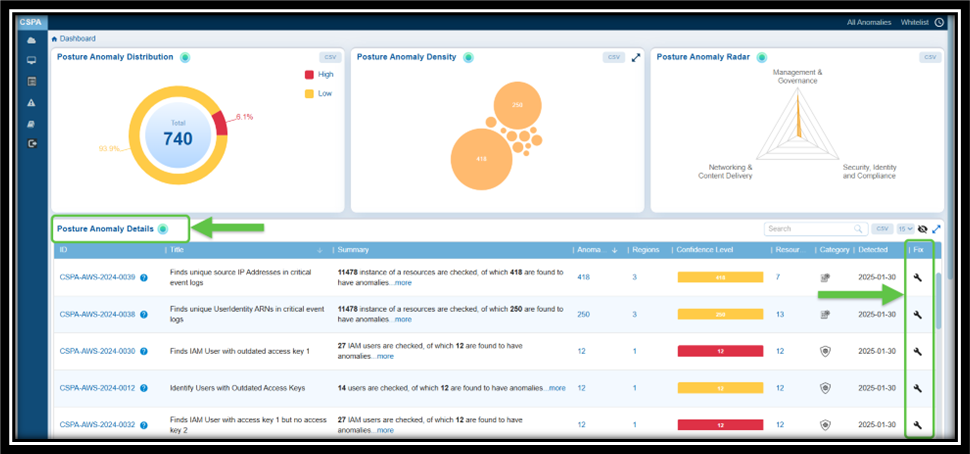
Step 1: Go straight to the Posture Anomaly Details block in the CSPA dashboard and click on the Fix (wrench) icon corresponding to an anomaly.
Step 2: Automatic Redirection to CSRM:

The application automatically redirects you to Cloud Security Resource Management(CSRM) and opens the CSPA Tabular Listing to begin the patching activity.
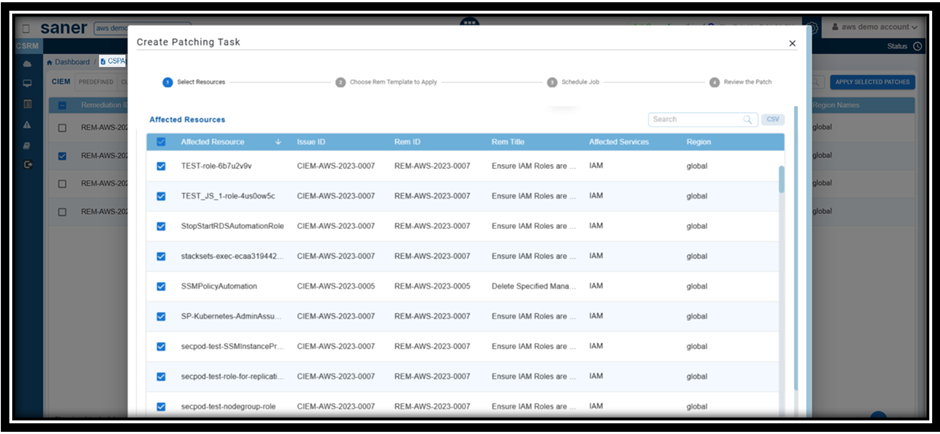
Step 3: Follow the Wizard
The wizard guides you through the process of selecting and applying the necessary patches.
Option 2: From “Posture Anomaly Details Page
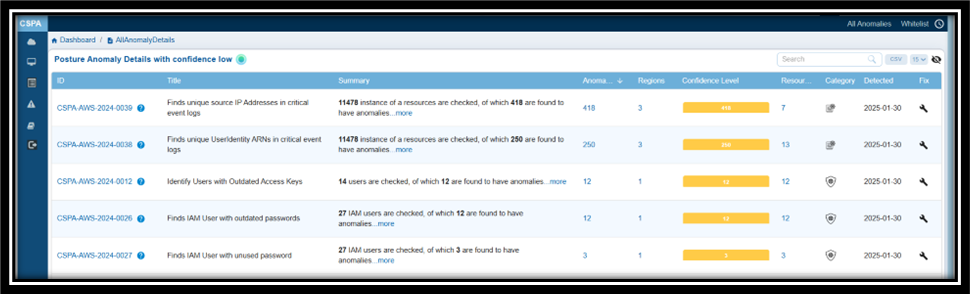
Step1: Click the Fix (wrench) icon corresponding to the relevant Anomaly ID
Step2: Automatic Redirection to CSRM:
Clicking the fix icon automatically redirects you to CSRM with the CSPA module opened, allowing you to directly create the patching task using the wizard.
Step3: Follow the Wizard
The wizard guides you through the process of selecting and applying the necessary patches.
This method makes it easier to manage your patching tasks and risk remediation in CSPA.
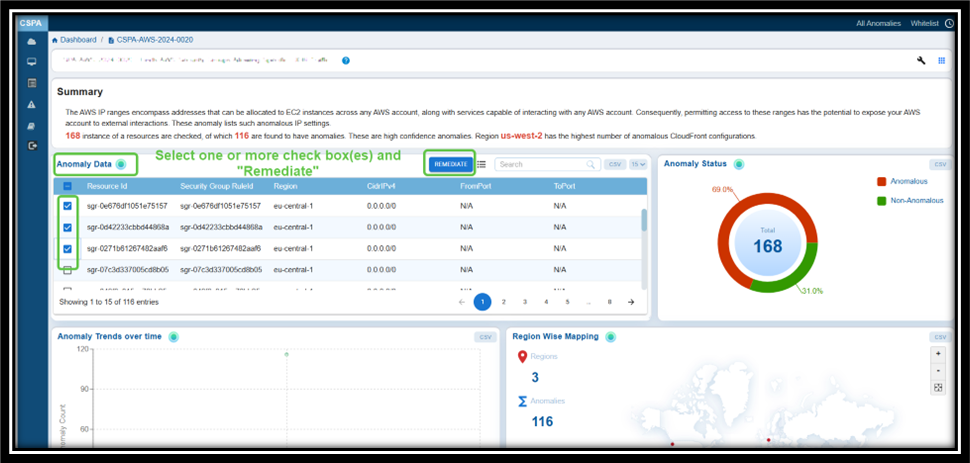
Option 3: From the “Anomaly data” widget within the Anomaly ID Page
See Also

