In this topic, learn to perform various operations in Report Views at organization-level to enhance collaboration and analysis.
Apply Filters to Retrieve Reports based on Cloud Provider at Organization Level
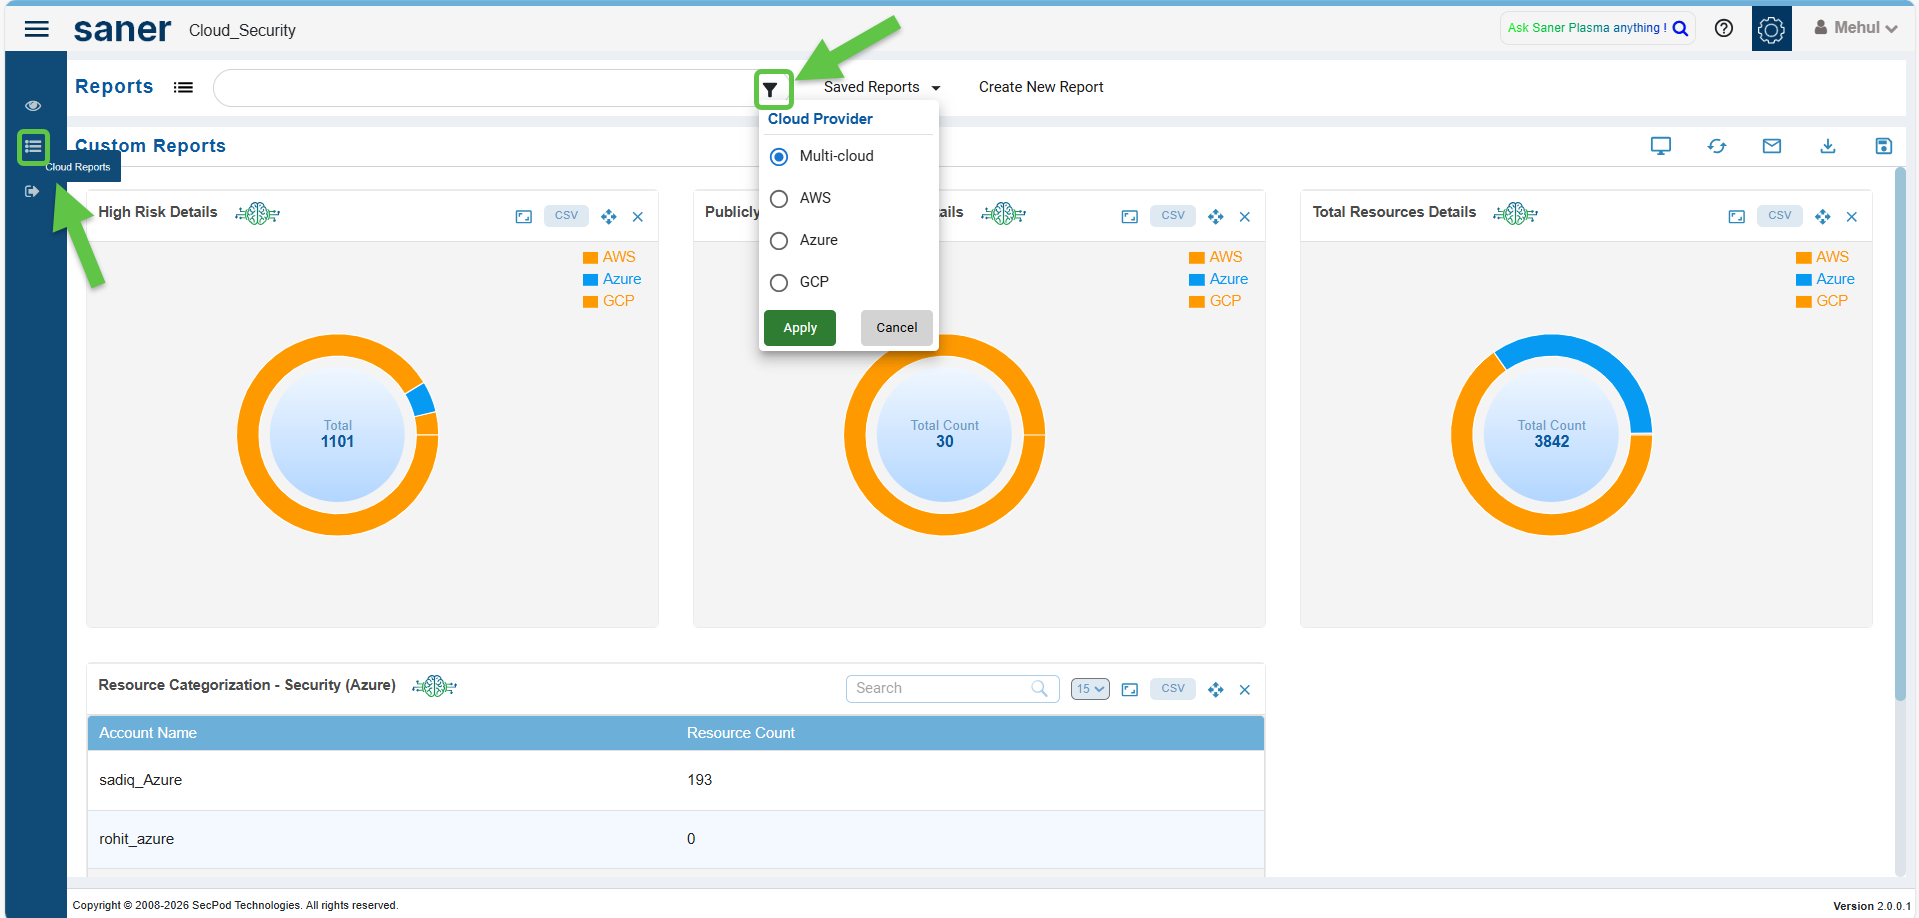
Multi-cloud: Retrieves the consolidated count of AWS, Azure, or GCP reports based on your search and displays them in the Custom Reports section.
AWS: Retrieves reports only from AWS based on your search and displays them in the Custom Reports section.
Azure: Retrieves reports only from Azure based on your search and displays them in the Custom Reports section.
GCP: Retrieves reports only from GCP based on your search and displays them in the Custom Reports section.
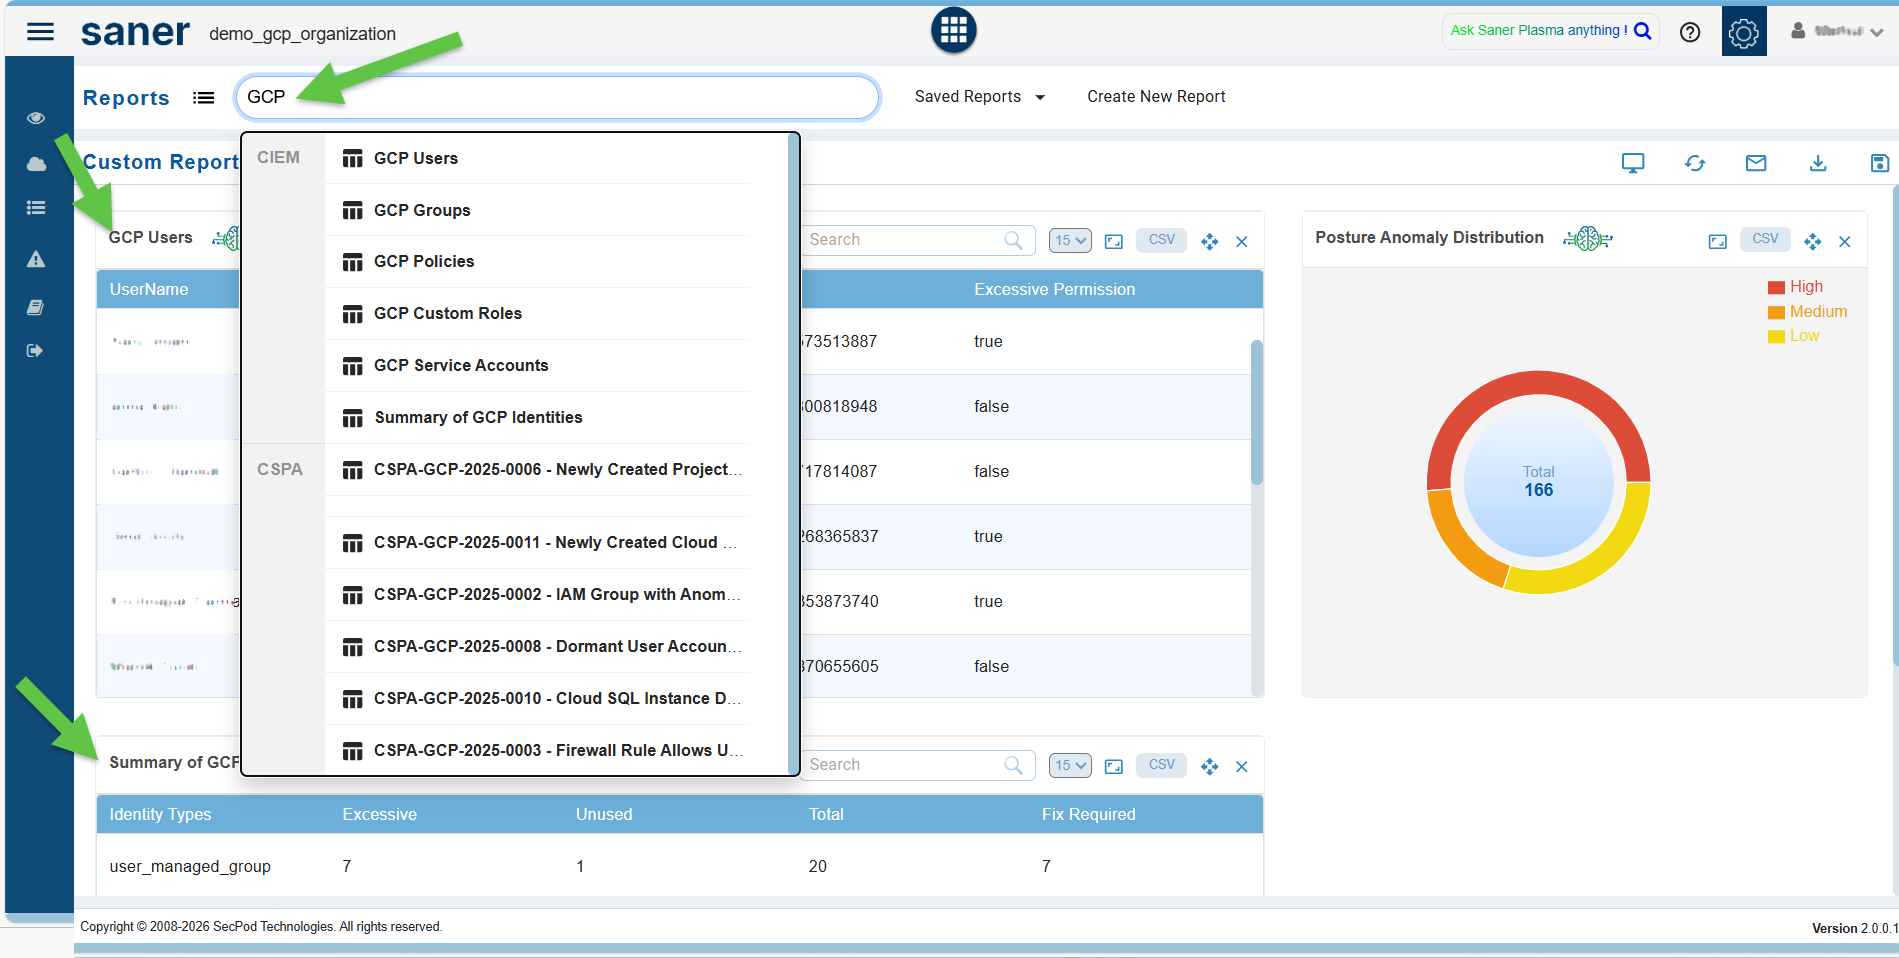
Use Keyword Search to Retrieve Cloud Provider-Specific Reports Across Tools
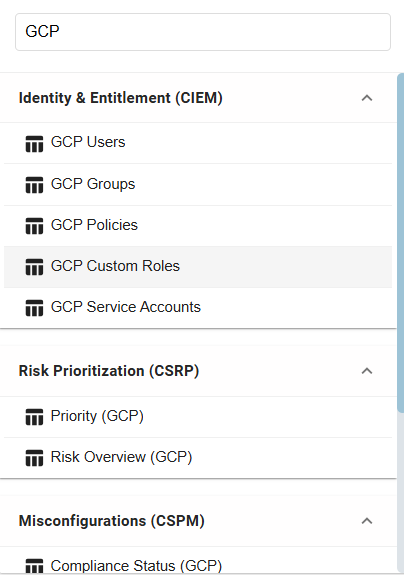
To retrieve reports for a specific cloud provider, enter the cloud provider name(AWS, Azure, or GCP) associated with the account in the Reports search box. For example, if you logged in with a GCP account, type GCP in the search box to view all GCP-related reports across the different tools such as CIEM, CSPA, CSAE, CSPM, CSRM, CHS, or CSRP. The same approach applies to AWS and Azure as well.
Create Organization-level Custom Report View
After specifying the cloud provider, you can create unlimited custom report views to quickly access the data that matters most to you.
Just go ahead and key in the report name within the Reports textbox. The system extracts the report from the Cloud Infra dashboard and embeds in the Custom Reports section.
Rearrange Report Views in the Custom Reports Section
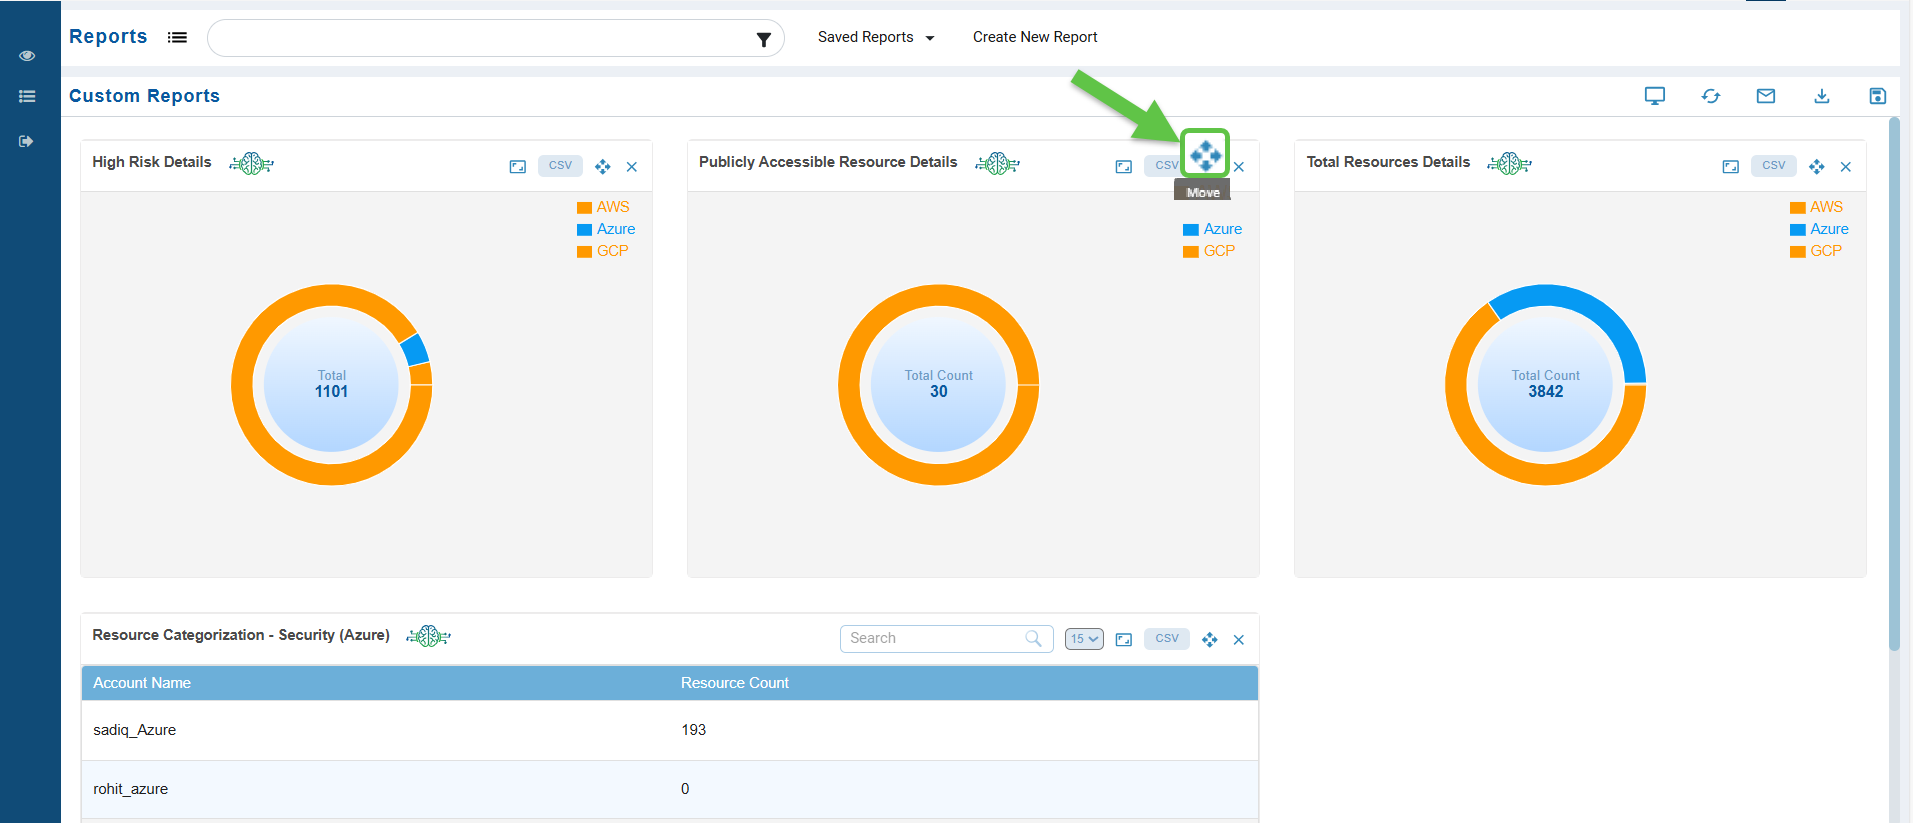
Use the Move button to easily drag and reposition any report view to your preferred location on the page.
Expand or Collapse Views
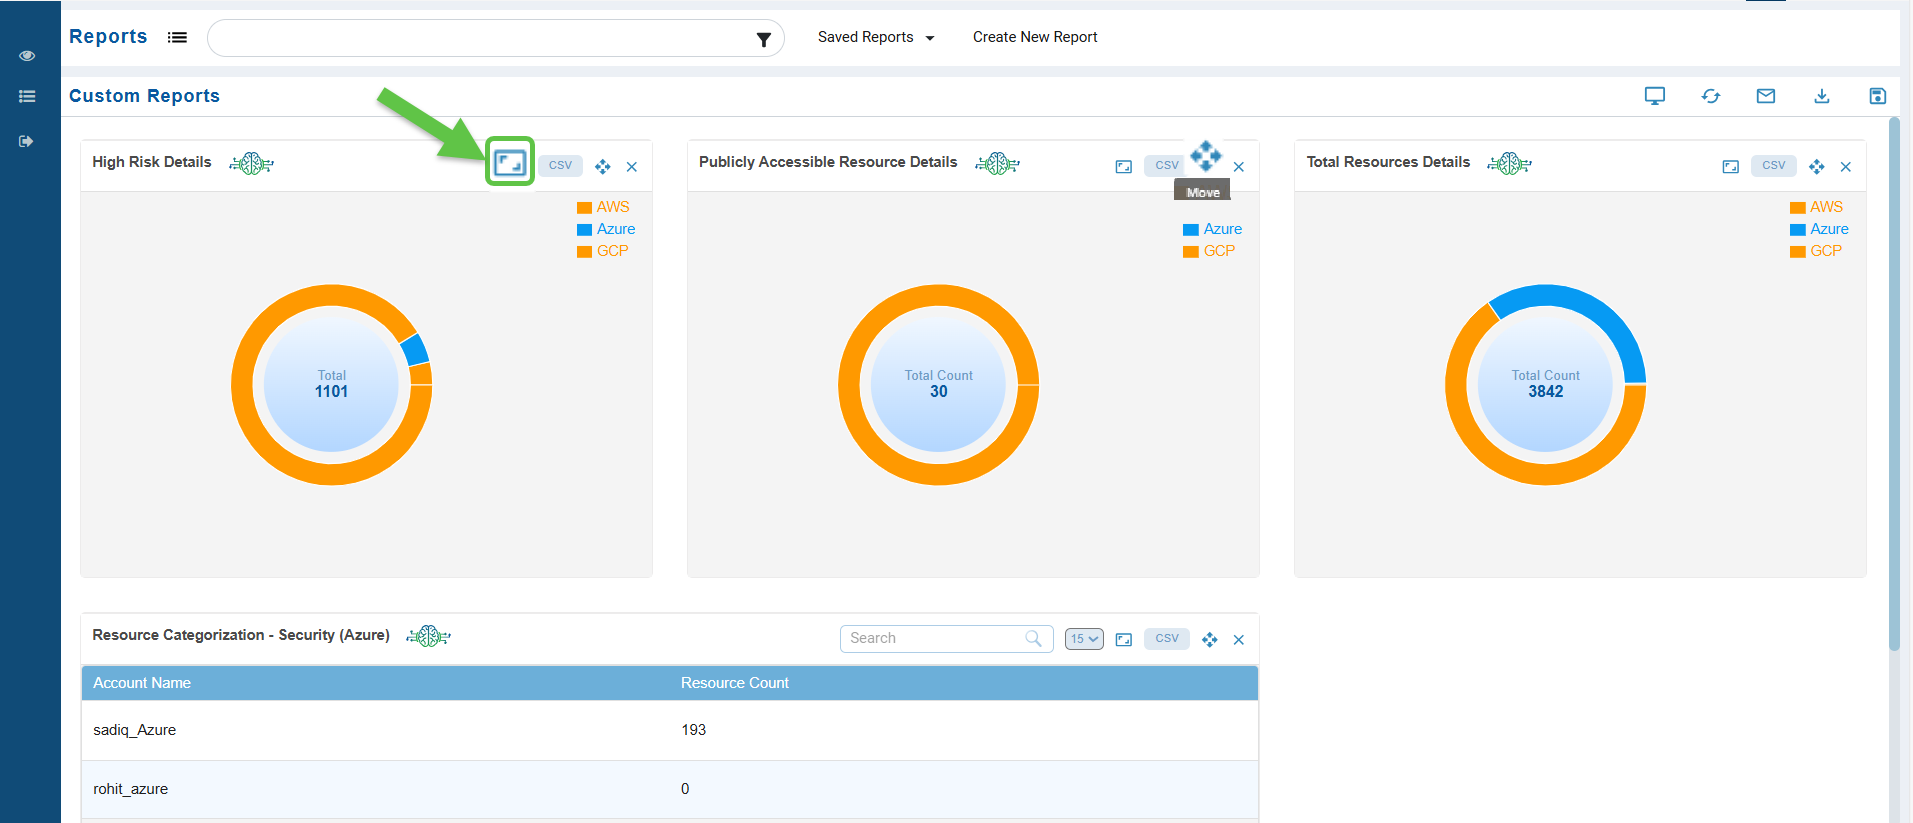
Expand or collapse views as needed by clicking the Resize button within the report view.
Export to Excel
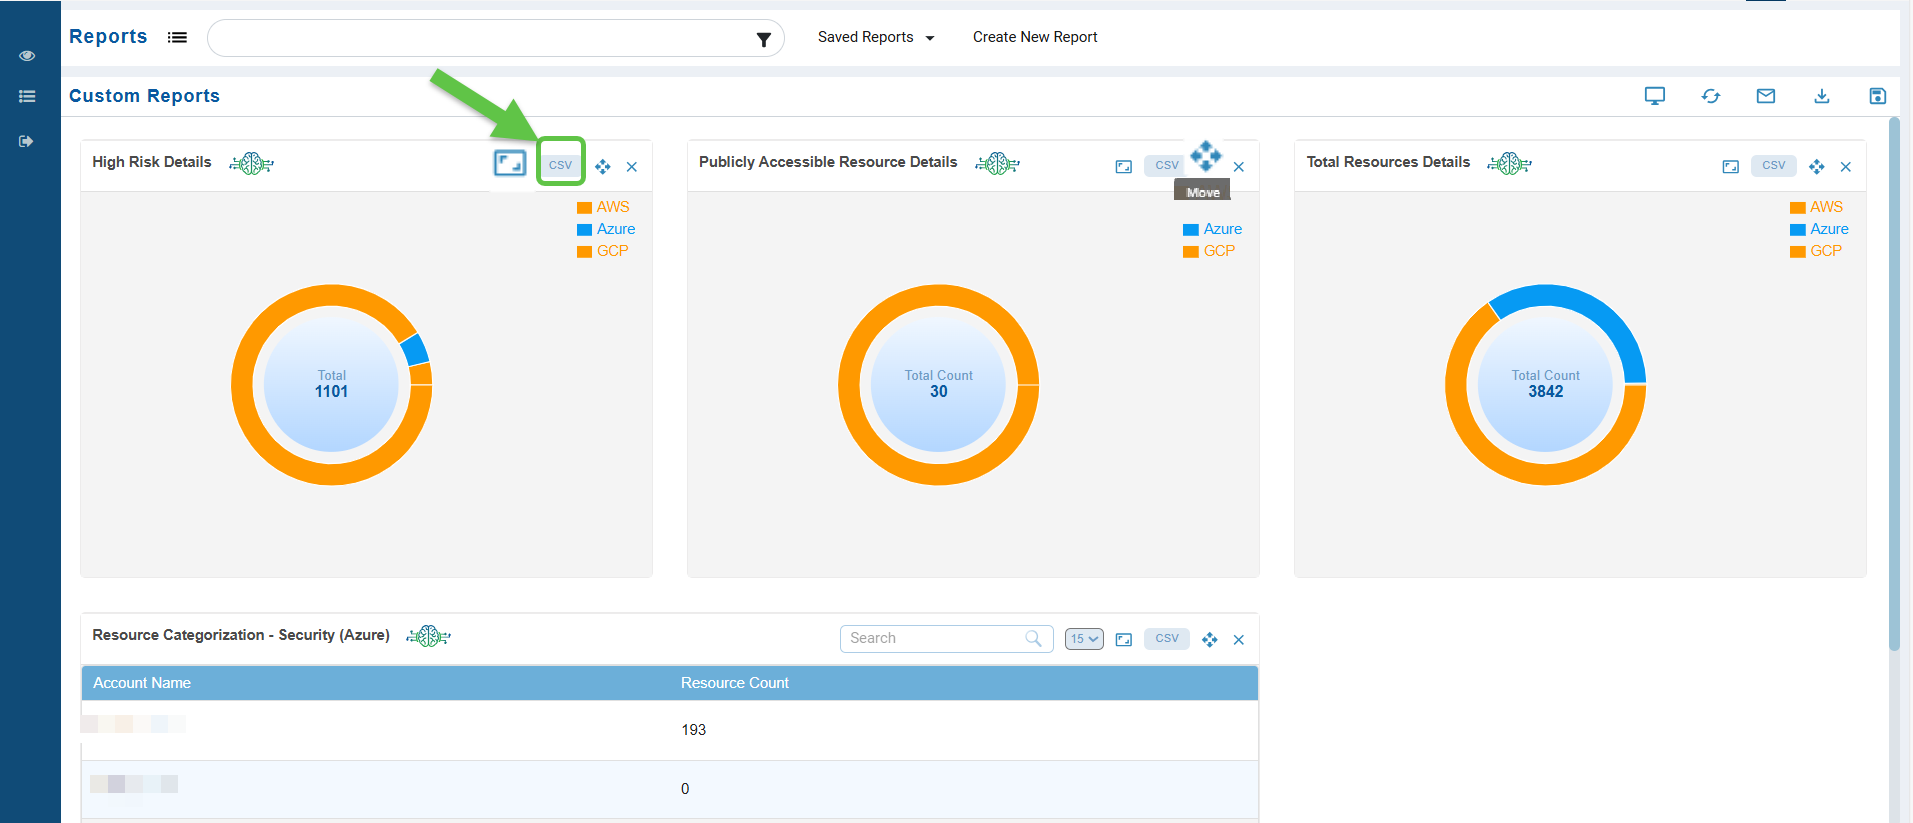
View the details of the report in a spreadsheet using the CSV button available within the report view.
Sync Dashboard Data to Report View

To refresh the data from the infra dashboard and view it in the Custom Report, click the Reload button. This action manually syncs the dashboard data to the report view.
Download Report as PDF
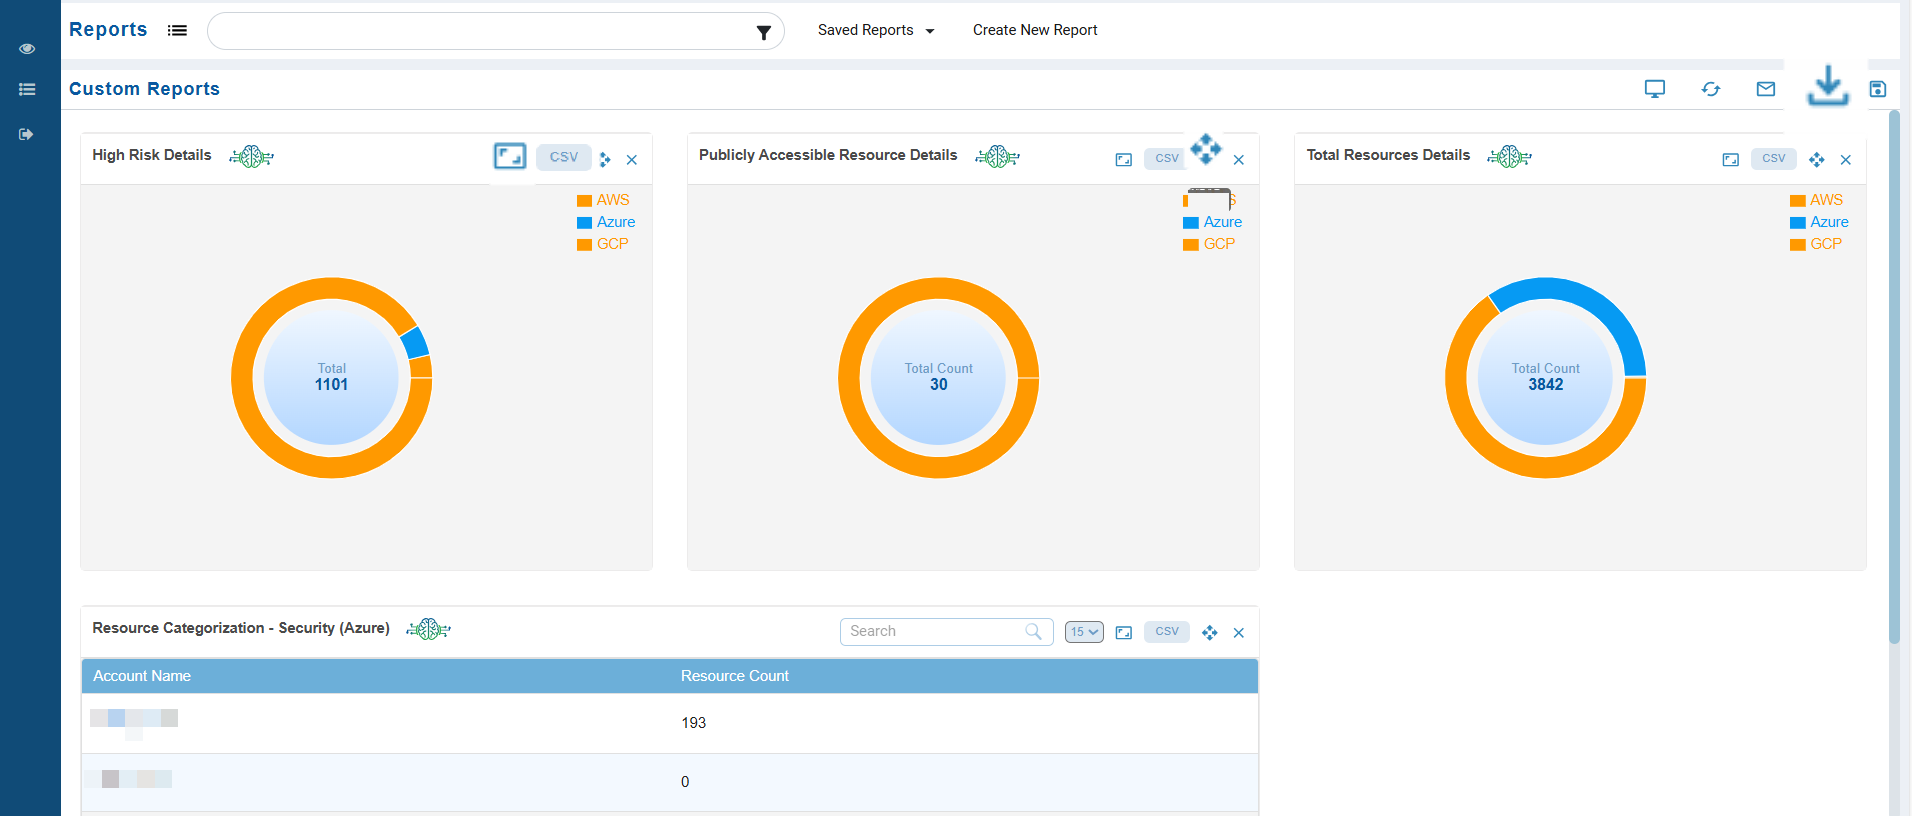
In addition to viewing the report data in grid view and spreadsheet format, an additional option is available to download the report as a PDF.
Send the Report over Email
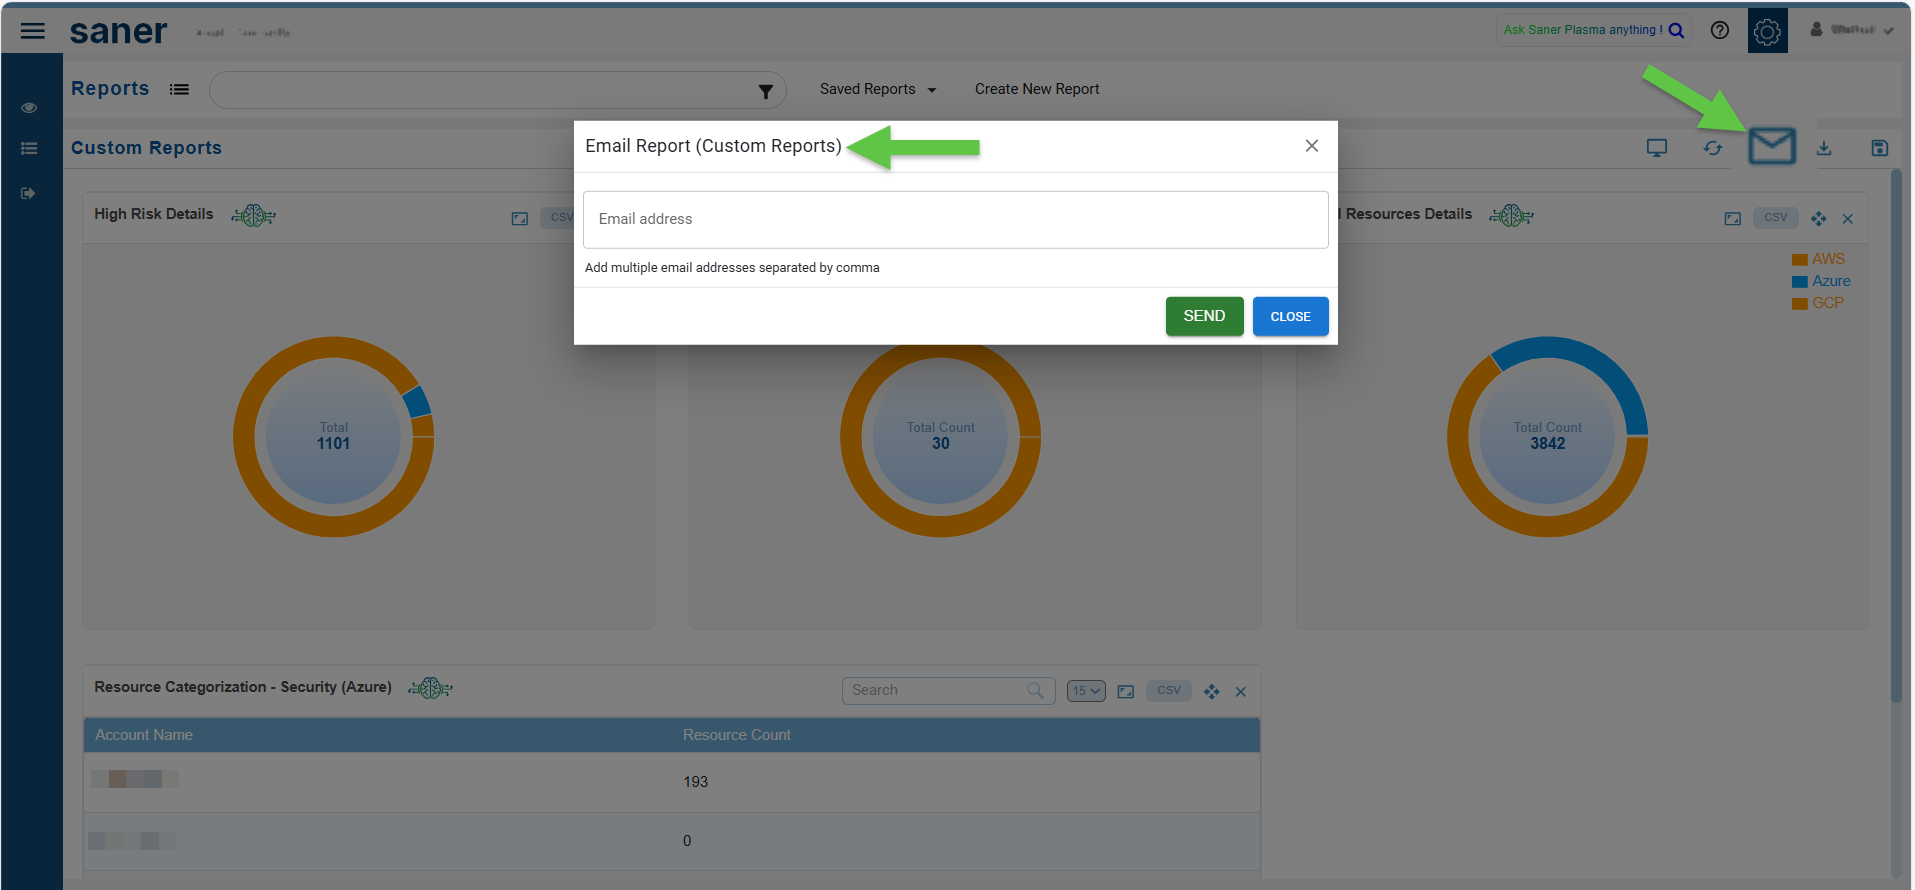
Click the Email icon from the top right of the Reports page. The Email Report (Custom Reports) window displays. You have the facility to email the report to one or more recipients using the Email Reports option. If you’d want to send across to multiple recipients, then key in the email address separated by comma.
Backup Report
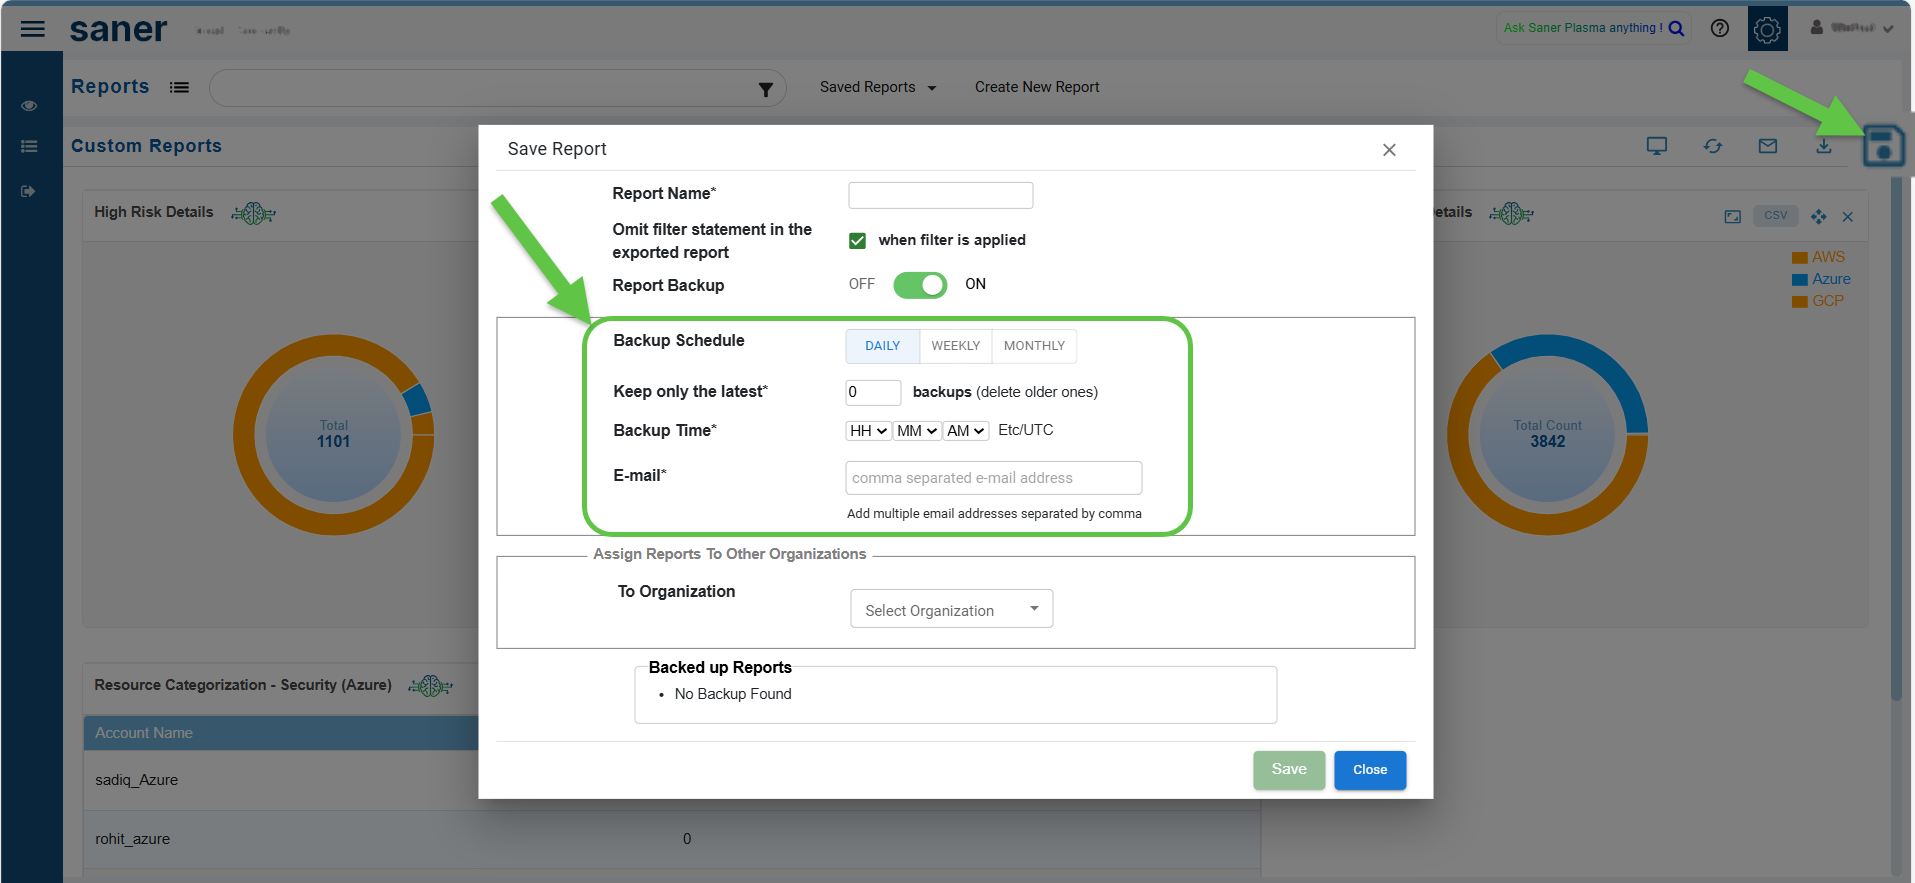
Setup specific time range or backup schedule, which is helpful for analyzing data over a designated period.
Step1: From the Save Reports window, click on the Report Backup toggle to turn the report backup ON or OFF
Step2: Use the Backup Schedule options to specify the backup time on a Daily, Weekly, or Monthly basis
Step3: Determine how many backups to retain by clicking the up or down arrows in Keep only the latest version text box
Step4: Specify scheduling the backup at a specific time with an AM/PM toggle and timezone selection (Etc/UTC). The system takes a copy of the report view at the specified time.
Step5: Provide the email addresses to which the report backup or notification must be sent. You can enter multiple emails addresses separated by comma.
Follow the same steps to setup the backup schedule for Organization Reports, just open the report view and modify the Backup Schedule.
AI Assistant
- The AI assistant is activated by clicking the green icon within any dashboard block. This action allows the assistant to understand the context of the displayed data and provide relevant details.
- The assistant dynamically presents crucial information in a tooltip format

