To check wireless signal quality in Windows systems, follow the steps below:
- Go to Endpoint Management module in Saner.
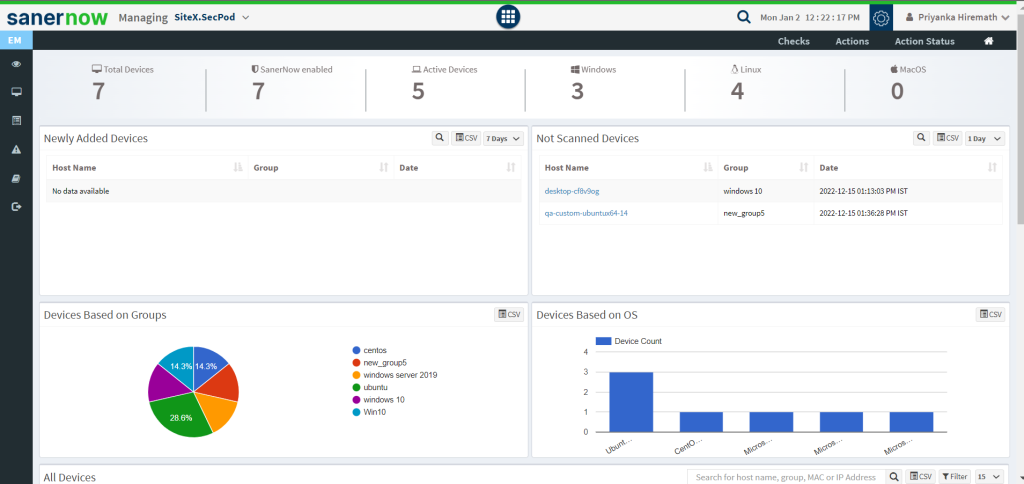
2. Click on Checks.
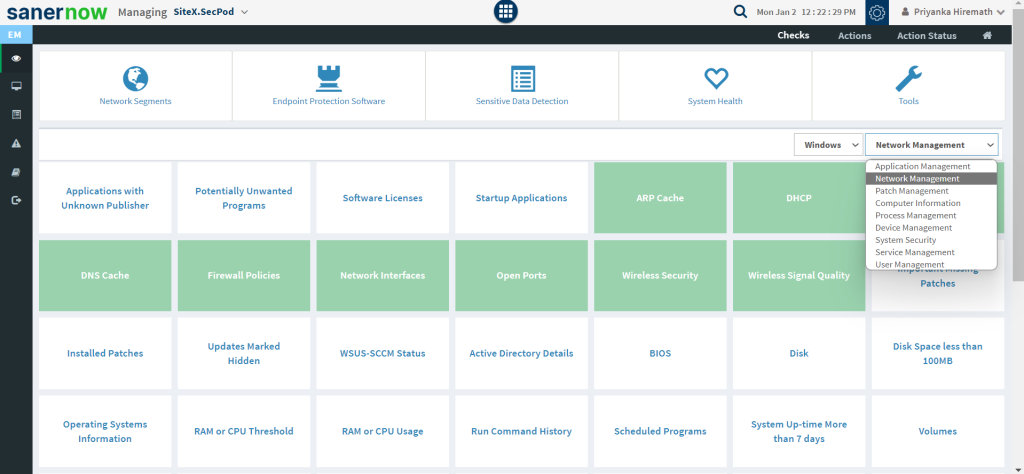
3. On the right-hand side, from the drop-down list select ‘Network Management‘.
4. Select the operating system: Windows.
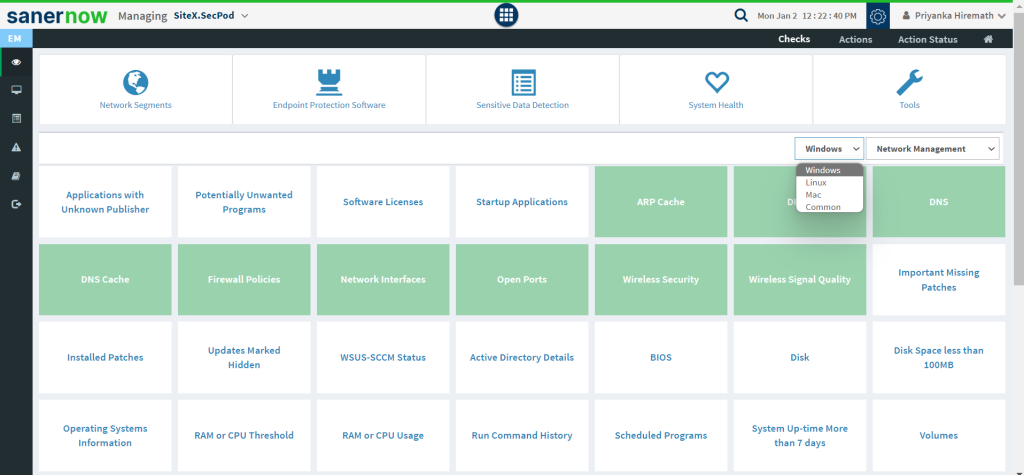
5. The checks corresponding to network management for Windows are highlighted in green.
6. To schedule the query execution for the agent, click on Trigger. You need to fill up query trigger settings:
- Set the Query run count time in seconds.
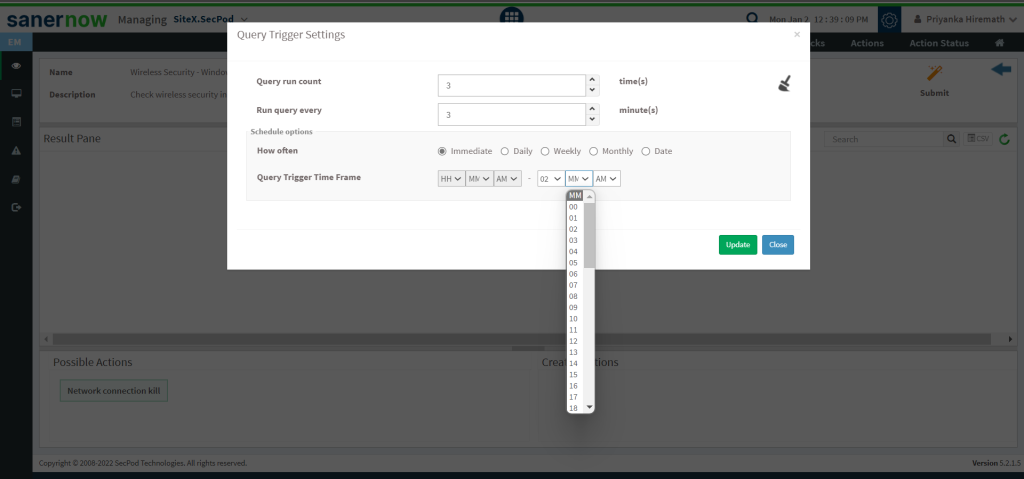
- Set the time in minutes to run the query often.
- In Schedule options pane, set the Query Trigger Time Frame.
- Click on Update.
7. Click on the ‘Scope‘ to choose the scope of the query.
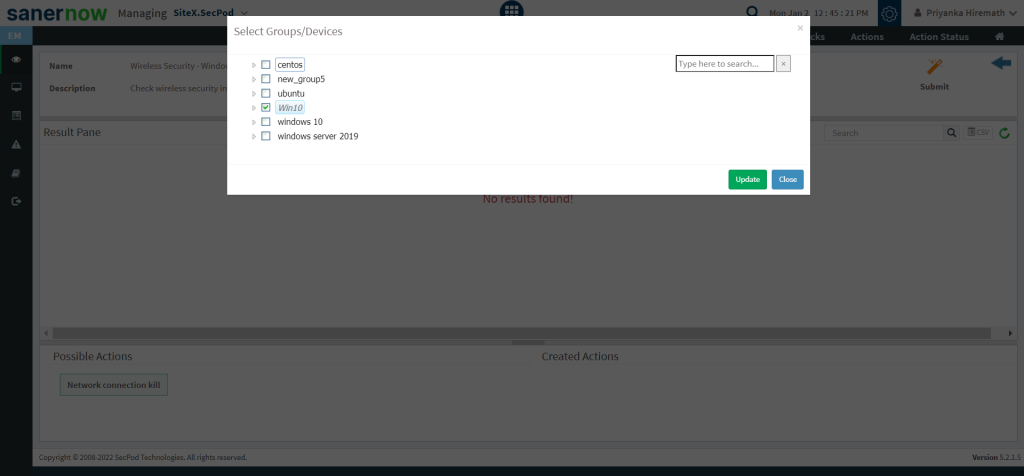
8. To send the query to agent, click on ‘Submit‘.
9. In the Result Pane, you can check wireless signal quality information on Windows systems.
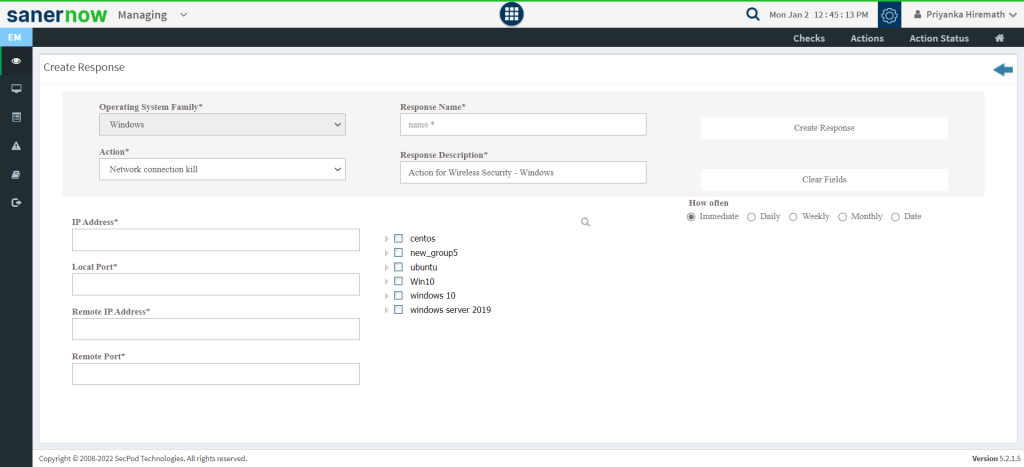
10. You can take possible actions according to the results. Possible actions are specified at the bottom pane. Click on the desired action, you will be redirected to Create Response page. In Created Actions, you will find all the responses created for the following check.
Now you know how to check wireless signal quality on Windows system.


