Follow the below steps to connect to a client machine’s graphical interface using Saner Remote Access.
Step 1: Go to the Saner Remote Access dashboard.
Step 2: Click the ![]() icon to connect to the client machine graphically.
icon to connect to the client machine graphically.
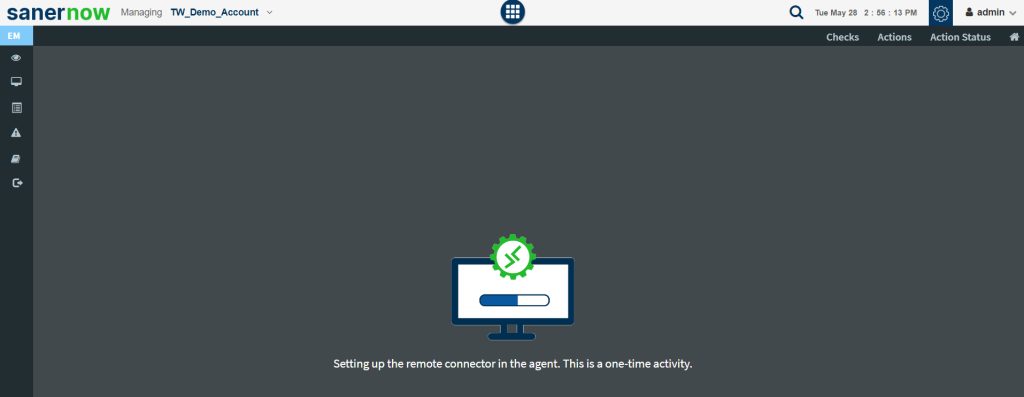
Step 3: A splash screen appears. You must wait for the Saner Agent installed on the client device to be enhanced so that Saner Remote Access can work. This happens only for the first time when you are connecting to a machine using Saner Remote Access. When initiating remote access using Saner Remote Access, the splash screen won’t appear.
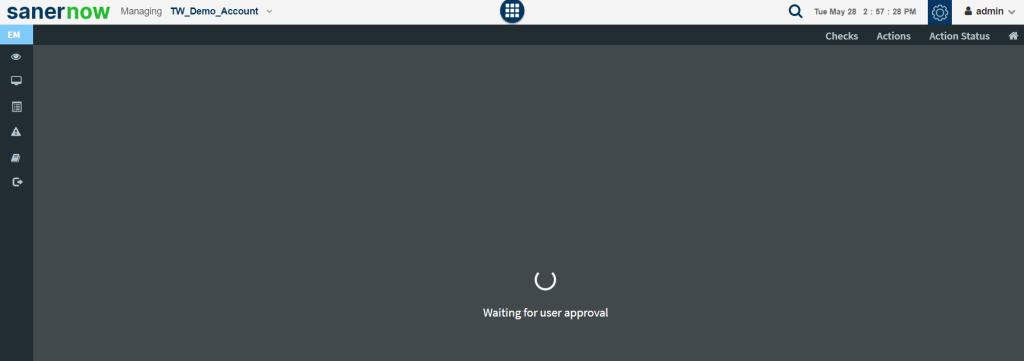
Step 4: Saner Remote Access tool requests approval from the client device. The user logged into the client machine must authorize Saner Remote Access to connect graphically to the device. You will see a similar screen on the Saner web console.
Step 5: The user logged in on the client machine will see a similar screen. The user must click on the Accept button for Saner Remote Access tool to establish the connection. If the user does not want Saner Remote Access tool to establish the connection, they can click the Dismiss button to deny the connection request.

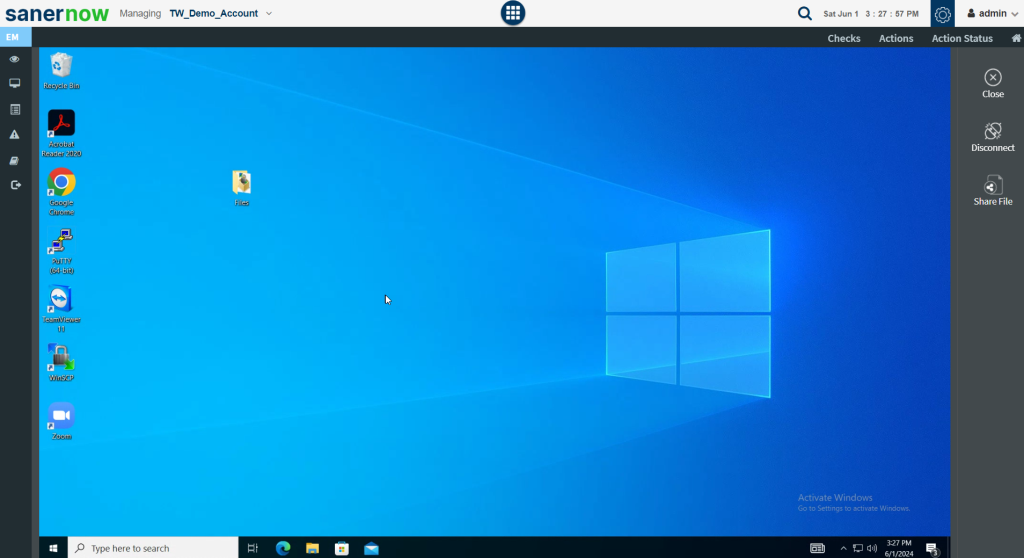
Step 6: On the Saner EM dashboard, you will see a similar screen, once the user approves Saner Remote Access connection request.
Click here to learn more about the various options available to connect to a client machine using Saner Remote Access.

