- Login to Saner and go to the Control Panel
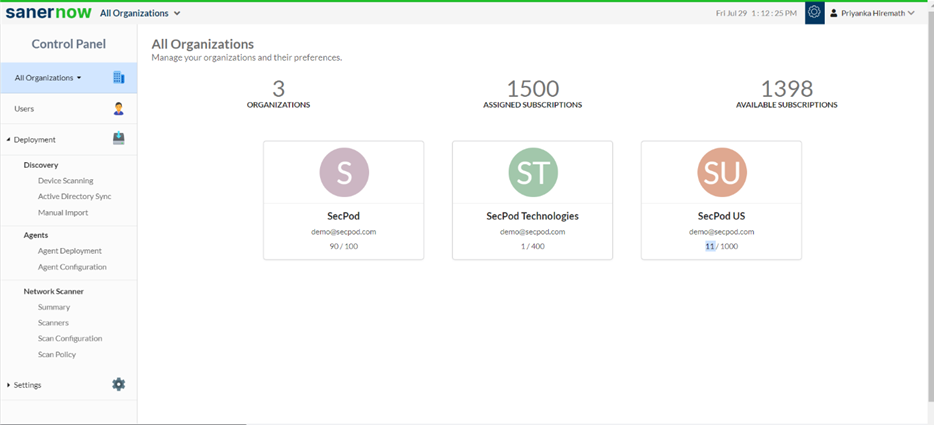
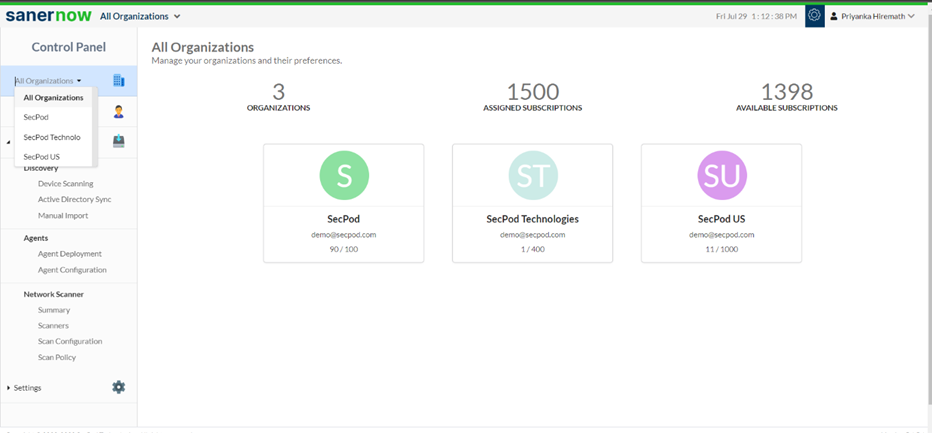
2. Choose the Organization
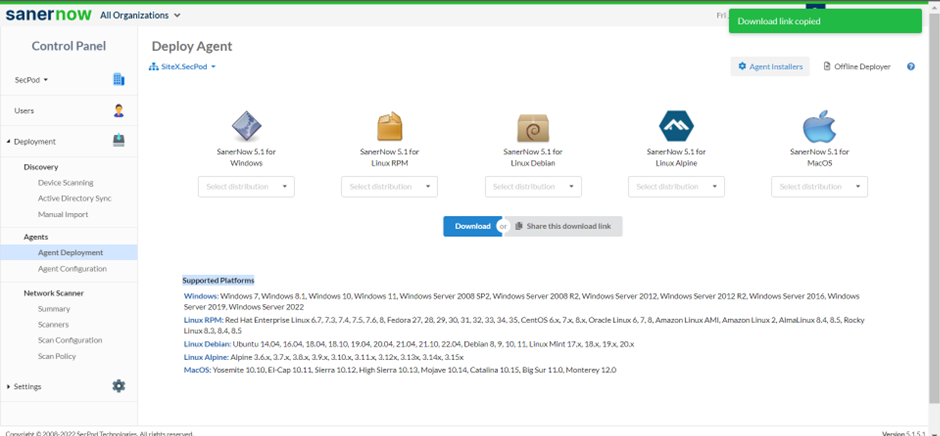
3. Go to the Deployment section and click on Agent Deployment
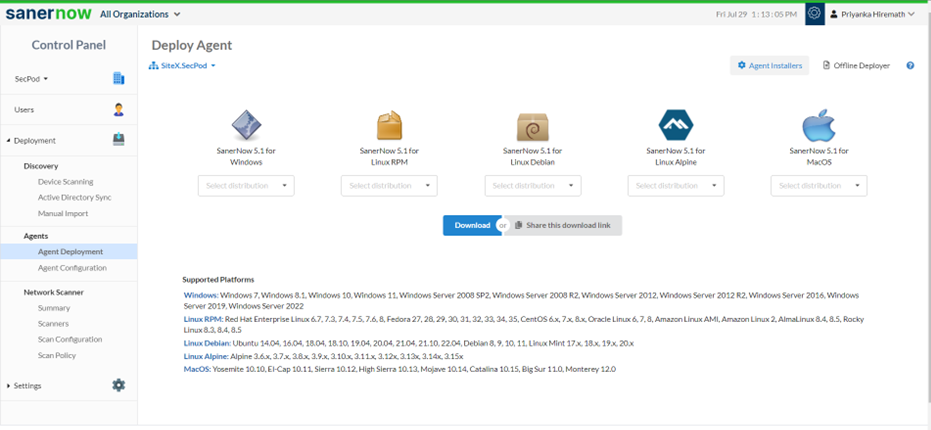
4. Choose the Account in which the agent has to be installed
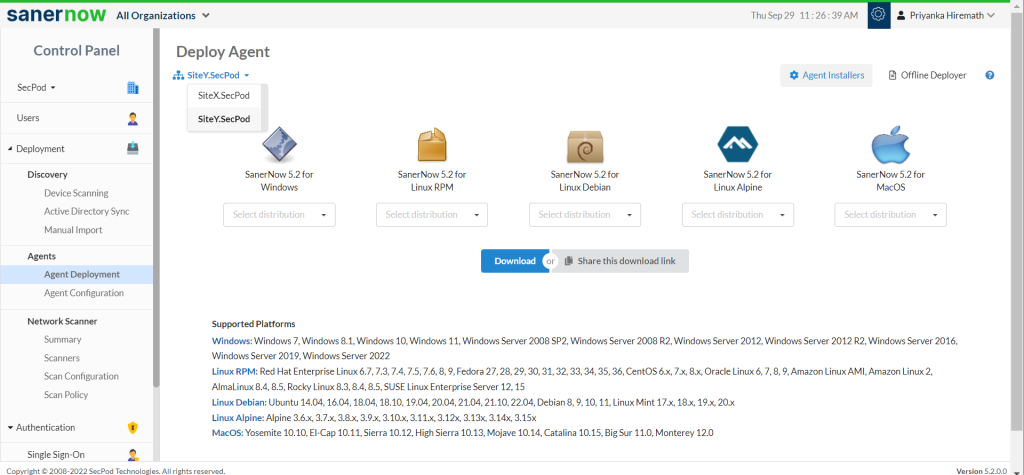
5. Click on Agent Installers
6. Select the Linux distribution and click on the Download
7. The Saner_Accountname_OSdistribution_5.2 zip file will get downloaded which includes the Bin file and ActivationConf file

8. Double click to extract the downloaded file
9. Now execute the following commands to install the Saner agent.
- unzip Saner_DemoAccount_<linux flavour>_<arch>_5.2.zip
- cd Saner_DemoAccount
- chmod +x SpSaner-minimal-x64.bin
- ./SpSaner-minimal-x64.bin -c ‘spsaneractivation.conf’
10. You can also share the download link. Click on the ‘Share this download link’ and the link will be copied
You have successfully installed the Saner agent in Linux.

