To enable/disable devices in Saner, follow the steps below:
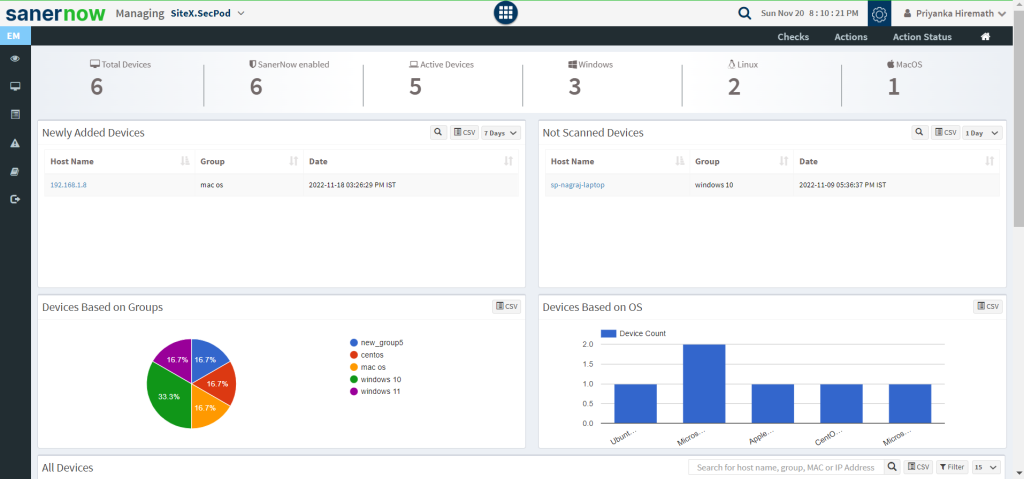
- Go to Endpoint management module.
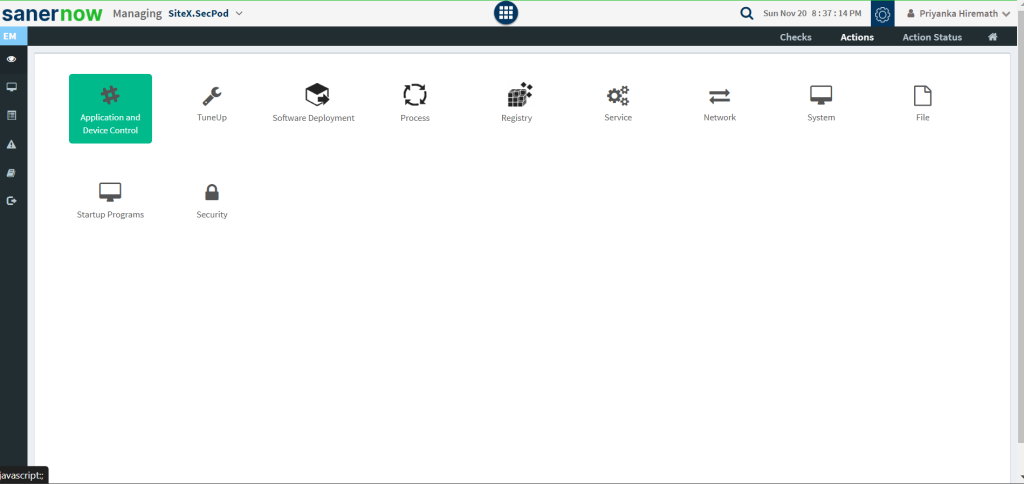
2. Click on Actions and select Application and device control.
3. Fill up all the details in Create Response window.
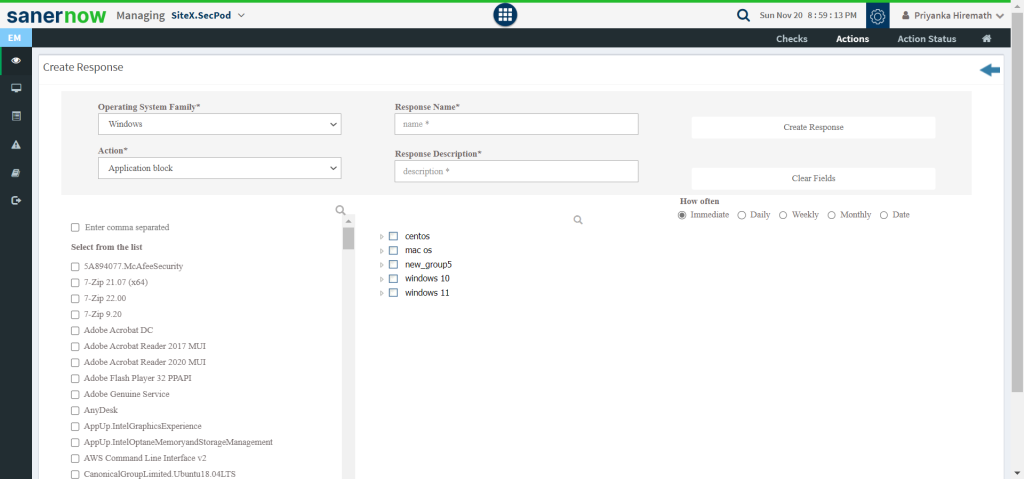
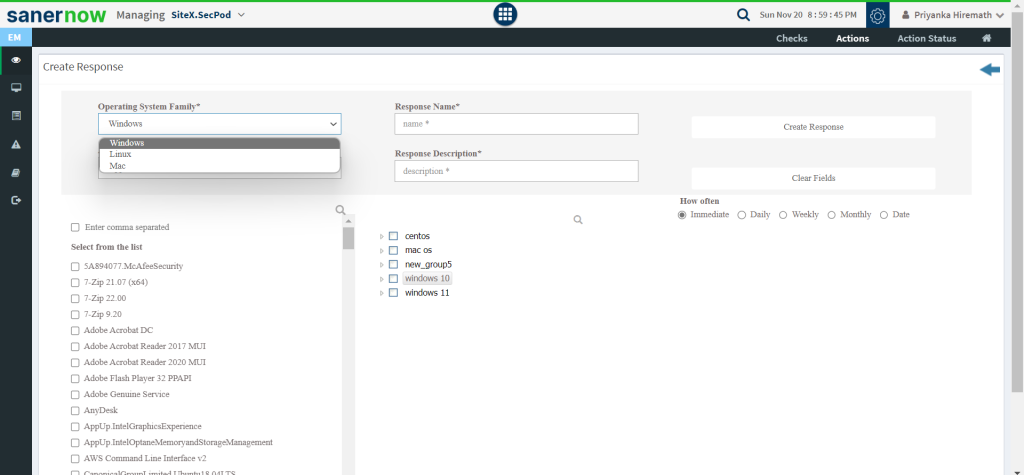
4. Choose the Operating system family and Actions.
5. In Actions you can block/unblock applications or enable/disable devices.
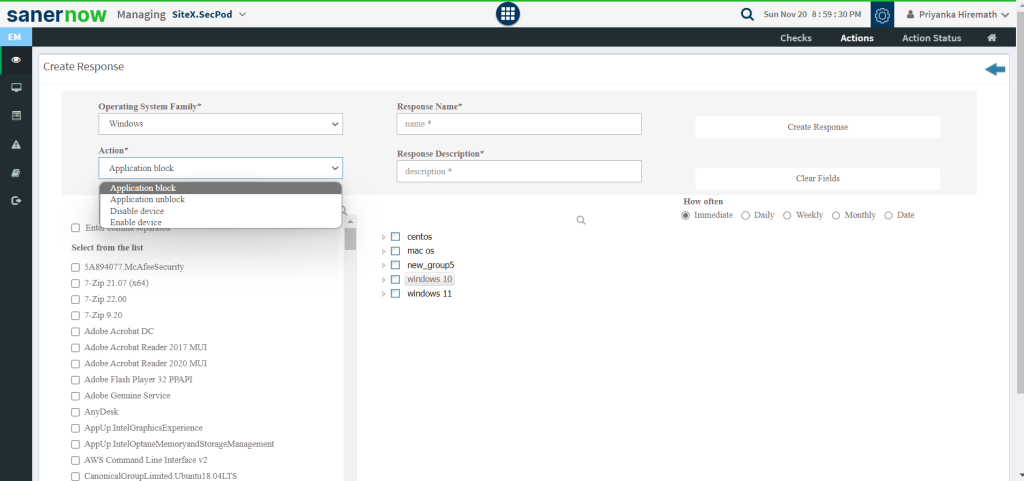
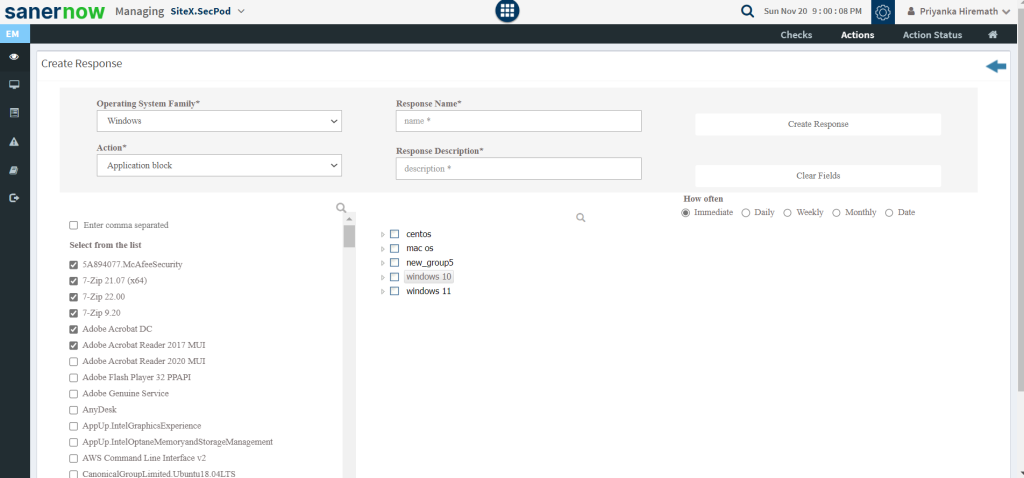
6. Once you choose to enable/disable the devices, you will have to choose the devices to perform the action from the list
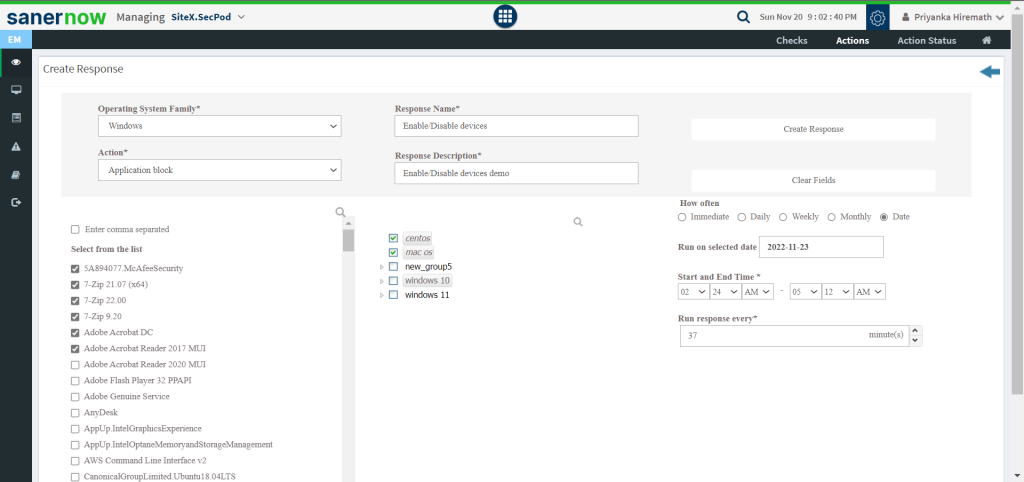
7. Select the system and decide on how often the rule must apply: Immediate, Daily, Weekly, Monthly, and Date.
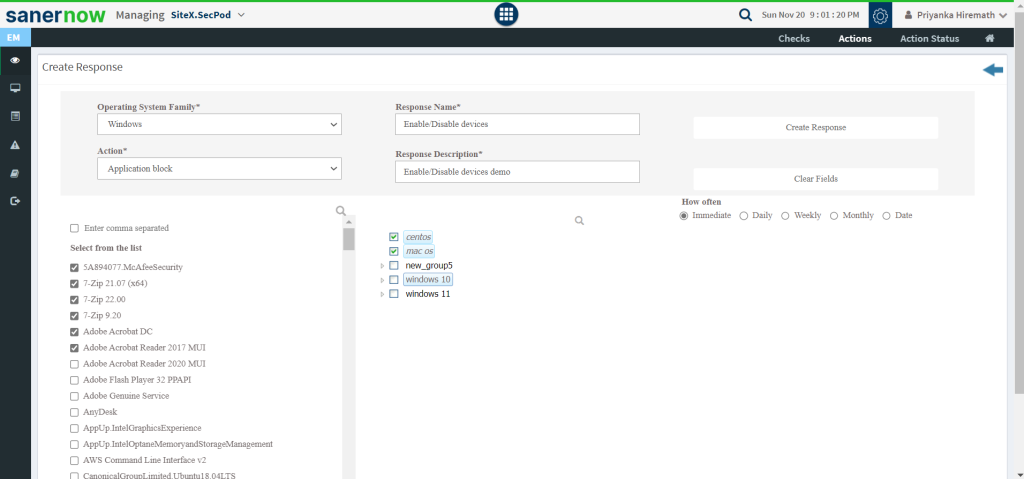
8. Fill up Response name and Response description and click on Create Response
Now you know how to enable/disable devices in Saner.

