Step 1: Log in to the Saner web console as Admin. Click the Control panel icon ![]() located on the right side of the Unified Dashboard page.
located on the right side of the Unified Dashboard page.
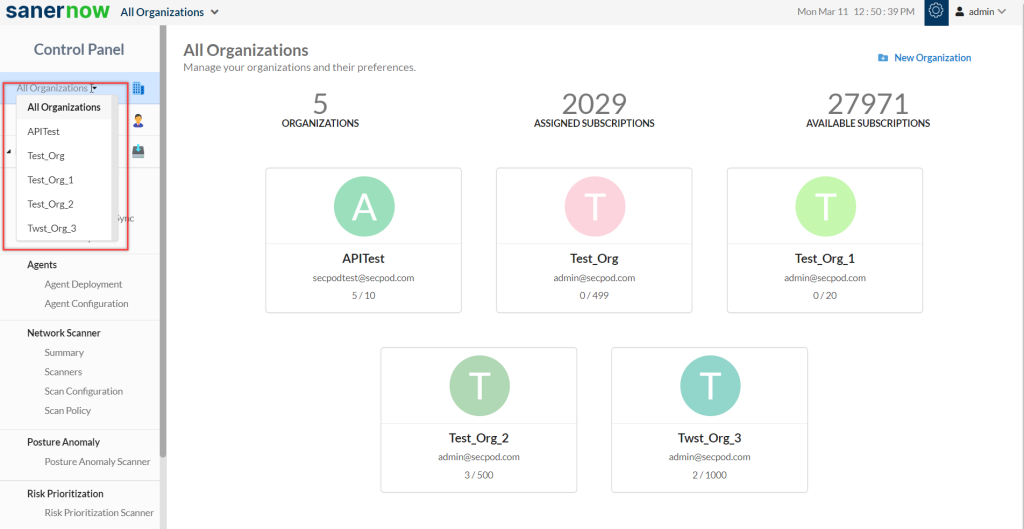
Step 2: Click the drop-down menu on the left side of the page. Select All Organizations from the list. All the organizations mapped to the Admin are displayed on the page’s right side.
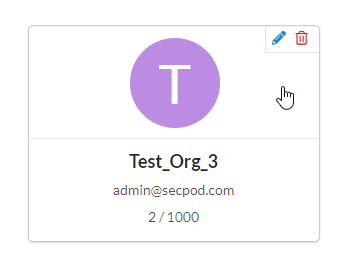
Step 3: Hover your mouse over the Organization tile you want to provision Saner tools. Click the icon  displayed on the tile to edit the Organization settings.
The Modify Organization Preferences pop-up window appears on the screen.
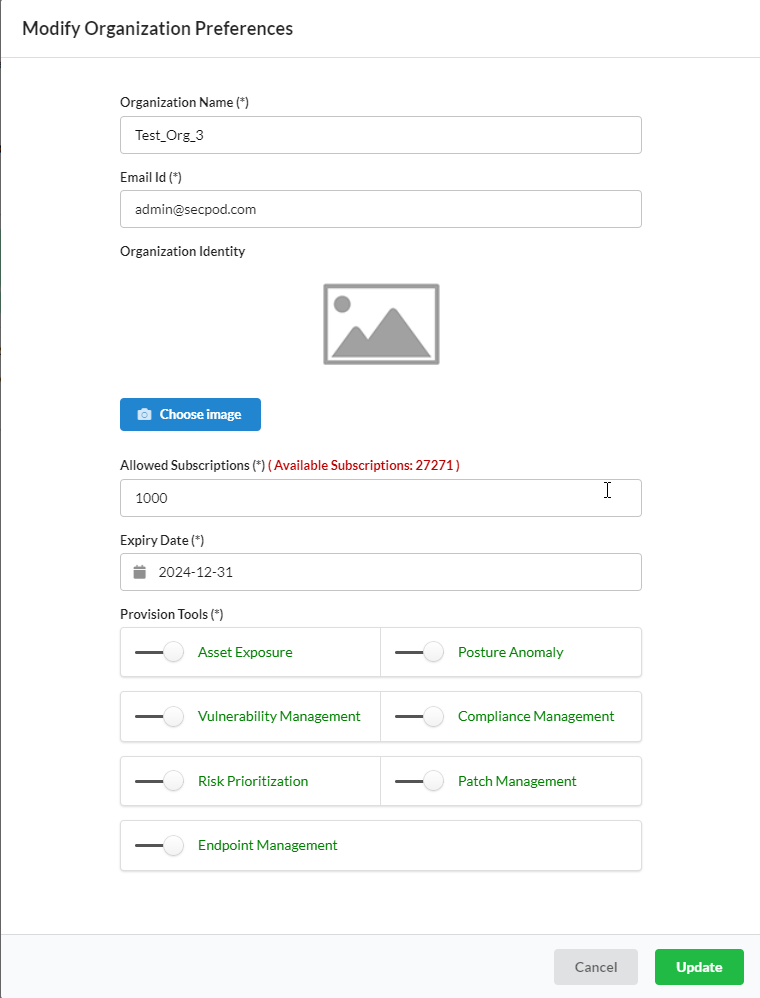
Step 4: In the Provision Tools section, you can choose which tools should be available for the Accounts mapped to the Organization. Each Saner tool has a slider displayed next to it. Sliding the button towards the left disables the Saner tool while sliding the button toward the right enables the respective Saner tool.
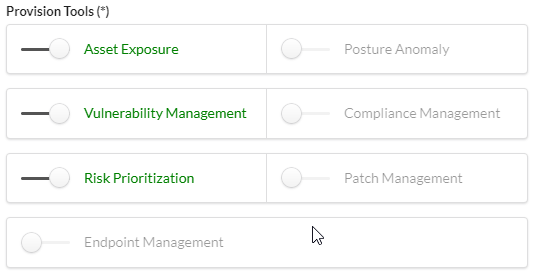
The example below shows how the Saner tools are greyed out when provisioning is disabled. The enabled Saner tools are displayed in green.
Step 5: Click the Update button to save the changes.

