Monitoring IT assets continuously is a big challenge. Saner facilitates on-demand asset scans, and you can schedule everyday scans.
Let us learn how to perform asset scans in Saner.
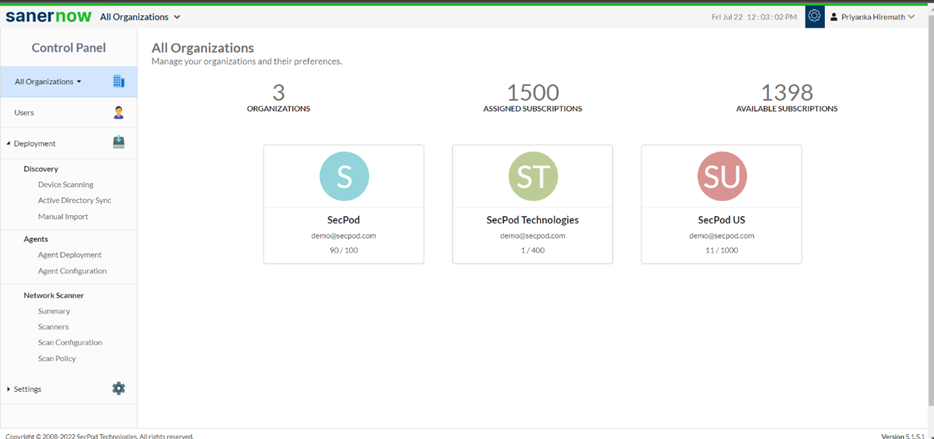
- Go to the Control Panel and select the organization.
2. Under Agents, select Agent Configuration.
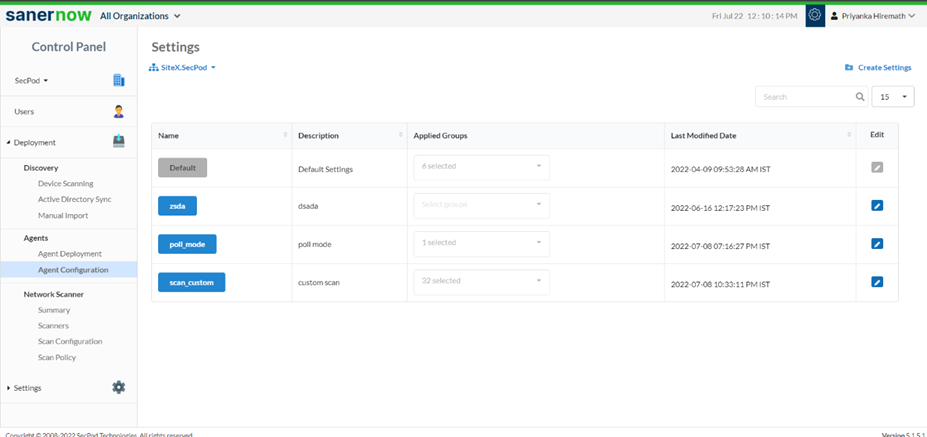
3. Click on Create Settings.
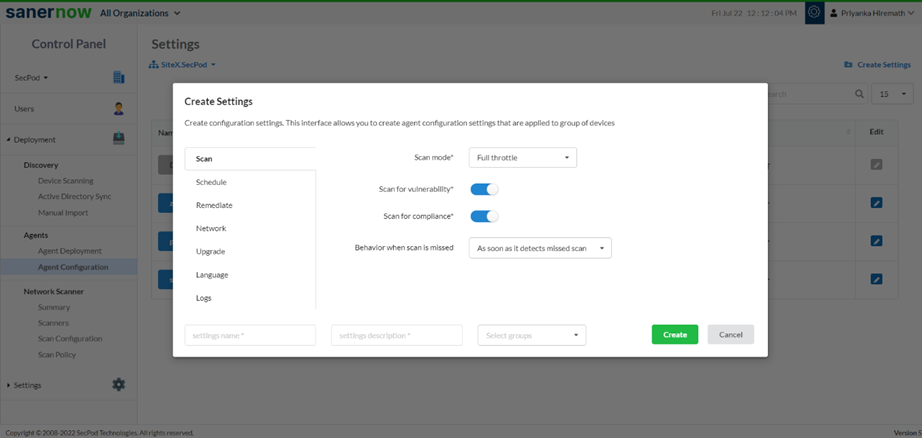
In Create Settings window, you will have various options to configure your agent.
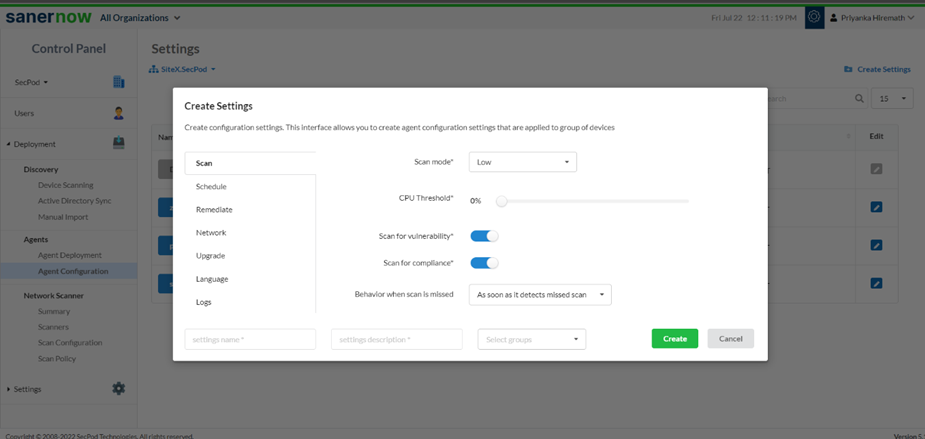
4. In the Scan section, select the scan mode from the drop-down list. You have two scan modes:
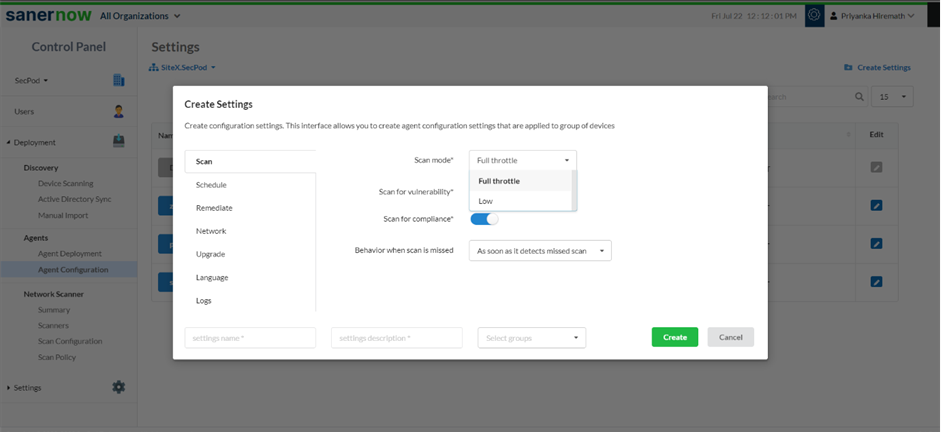
- Full throttle scan mode: It uses all the resources of the CPU to scan
- Low scan mode: It scans on low mode
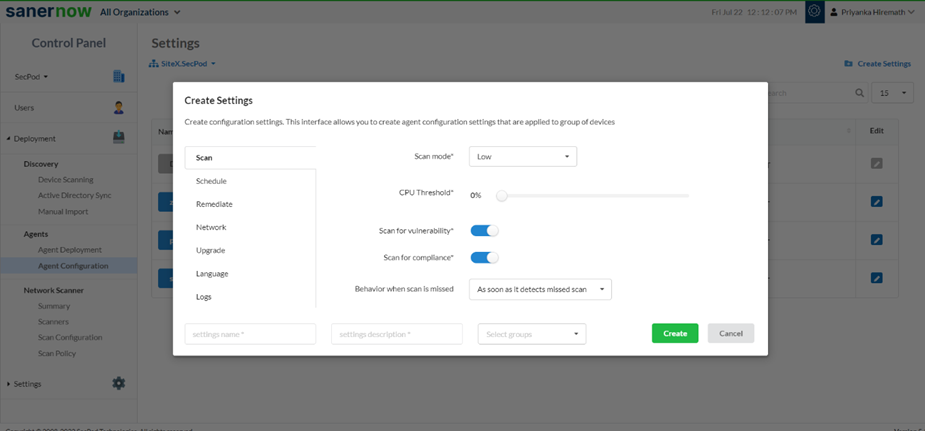
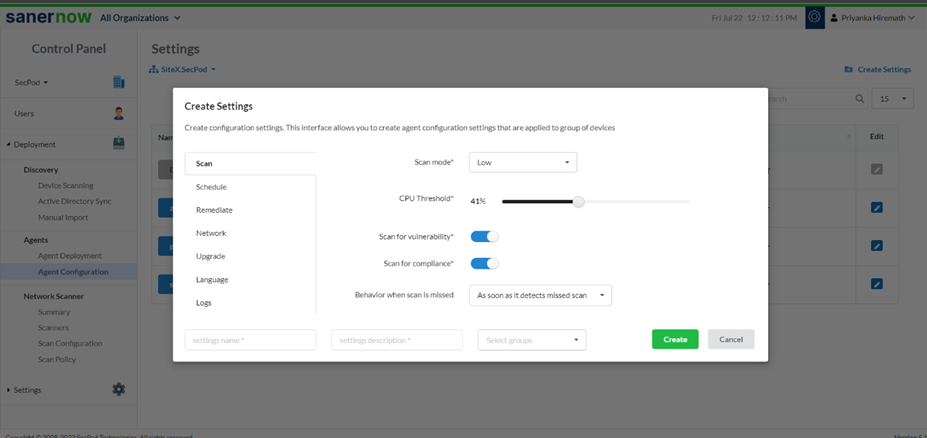
- You can set the CPU threshold
5. Now, you can enable and disable the option to scan for Vulnerability and Compliance.
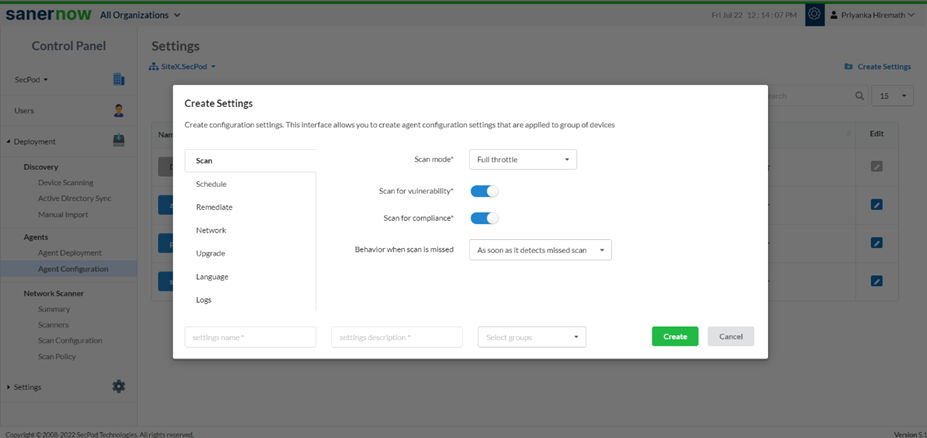
6. Suppose the scan is missed; you can set up the behavior of the missed scan.
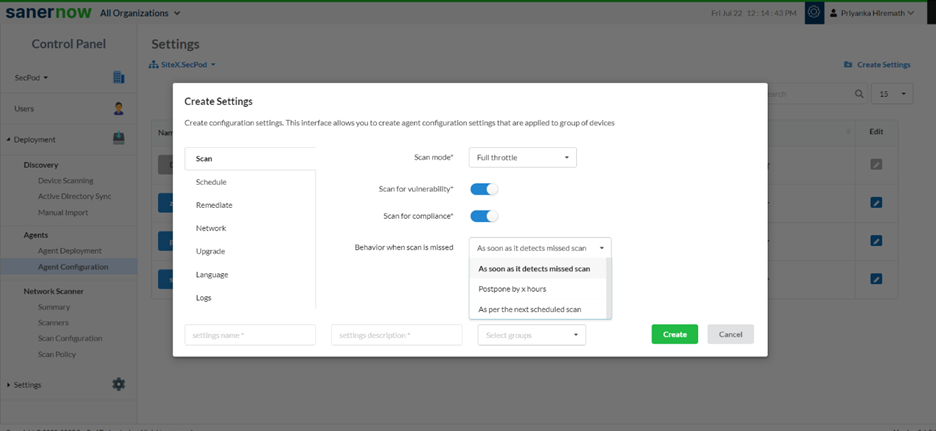
7. Assign the setting name, setting description, and groups to apply the agent configuration settings.
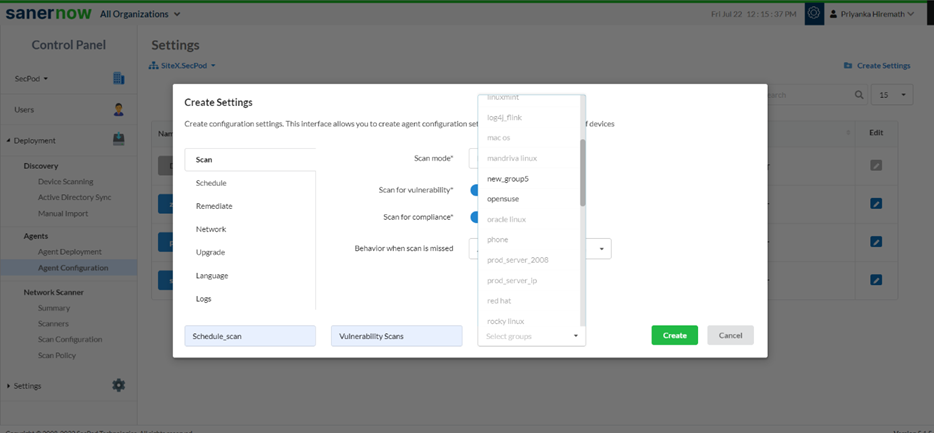
8. Click on Create.

9. You can also schedule everyday scans through the schedule option.
- Click on the Schedule option.
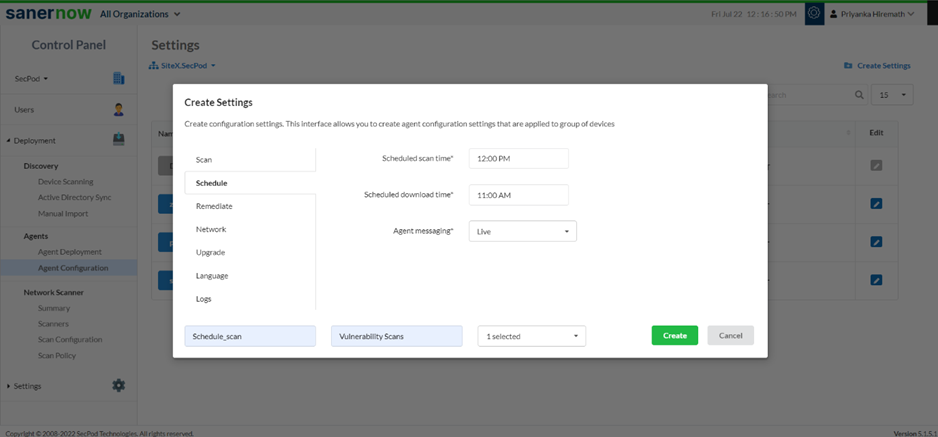
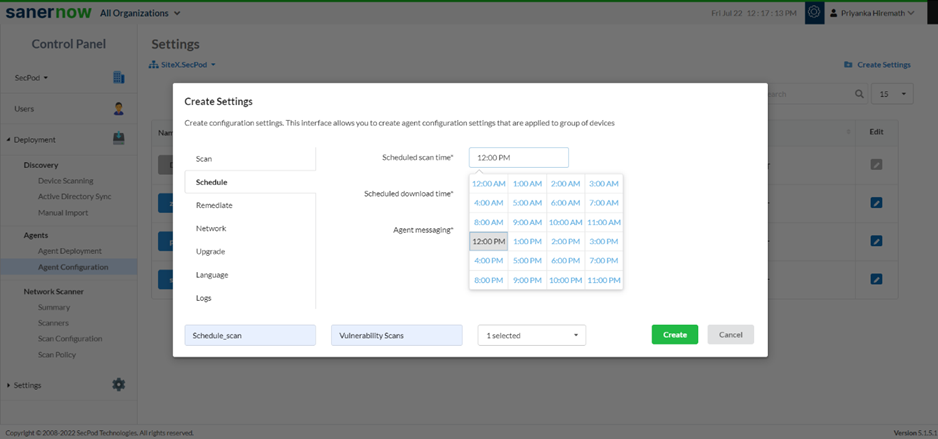
- Set the everyday schedule scan time.
- Set the schedule download time
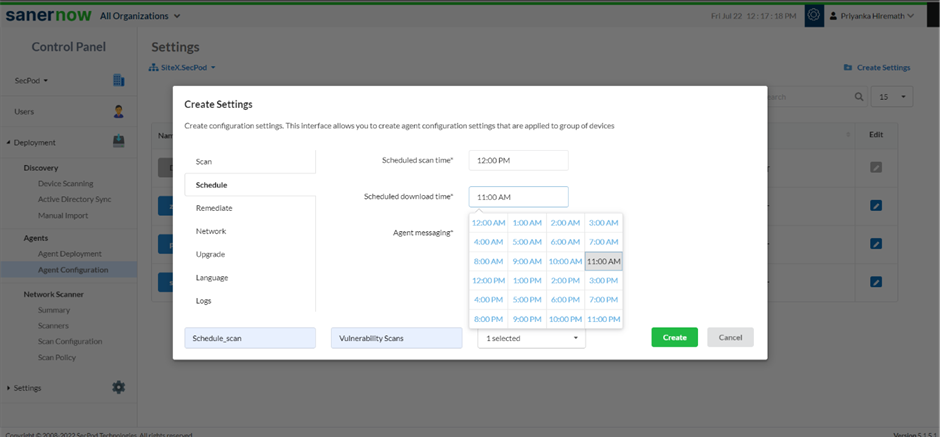
- From the drop-down list, choose the method of agent messaging: Live or Poll
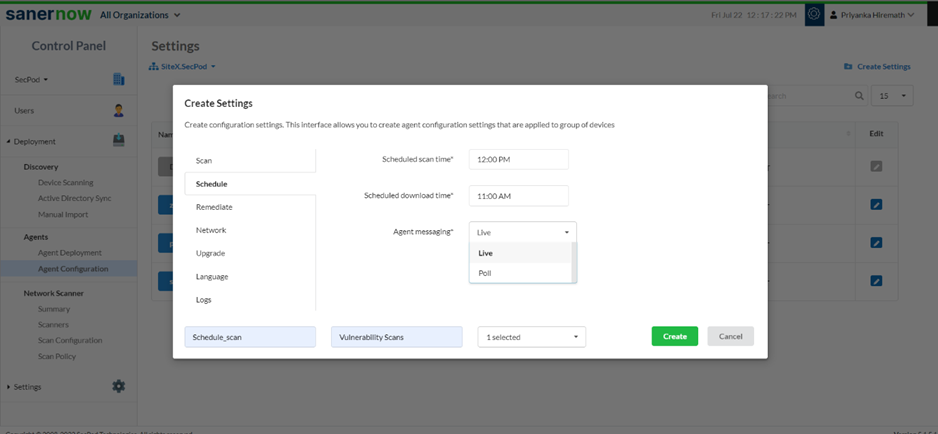
9. Click on Create.
Now you have configured your agent to run the asset scan.

